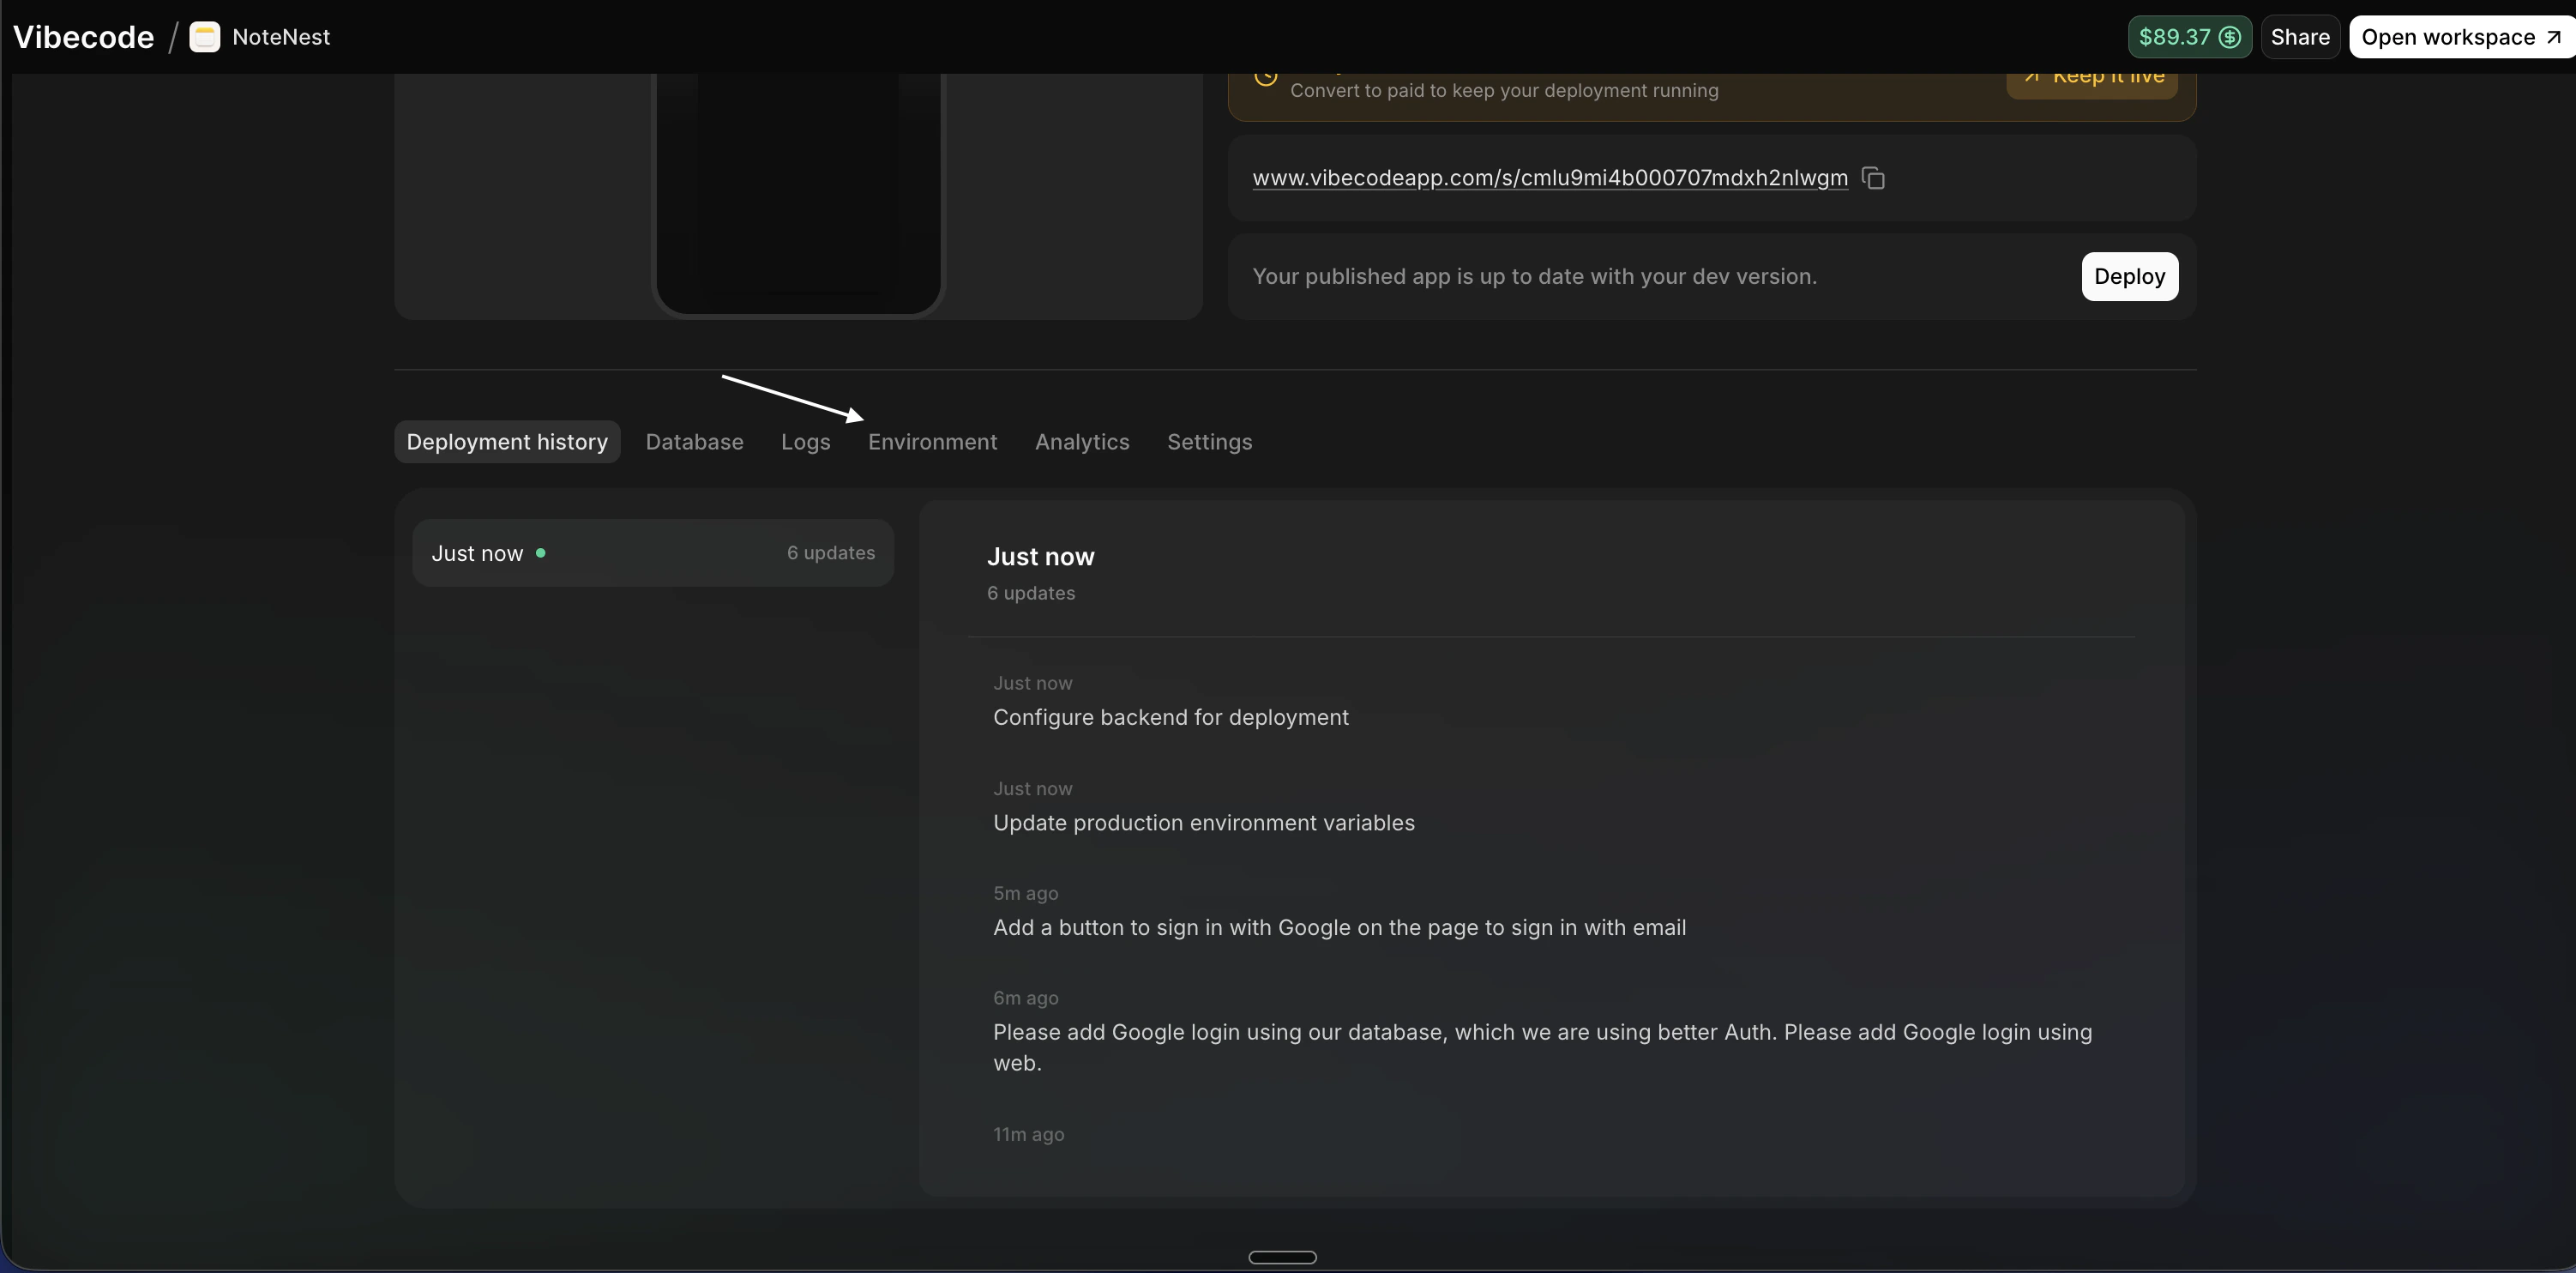
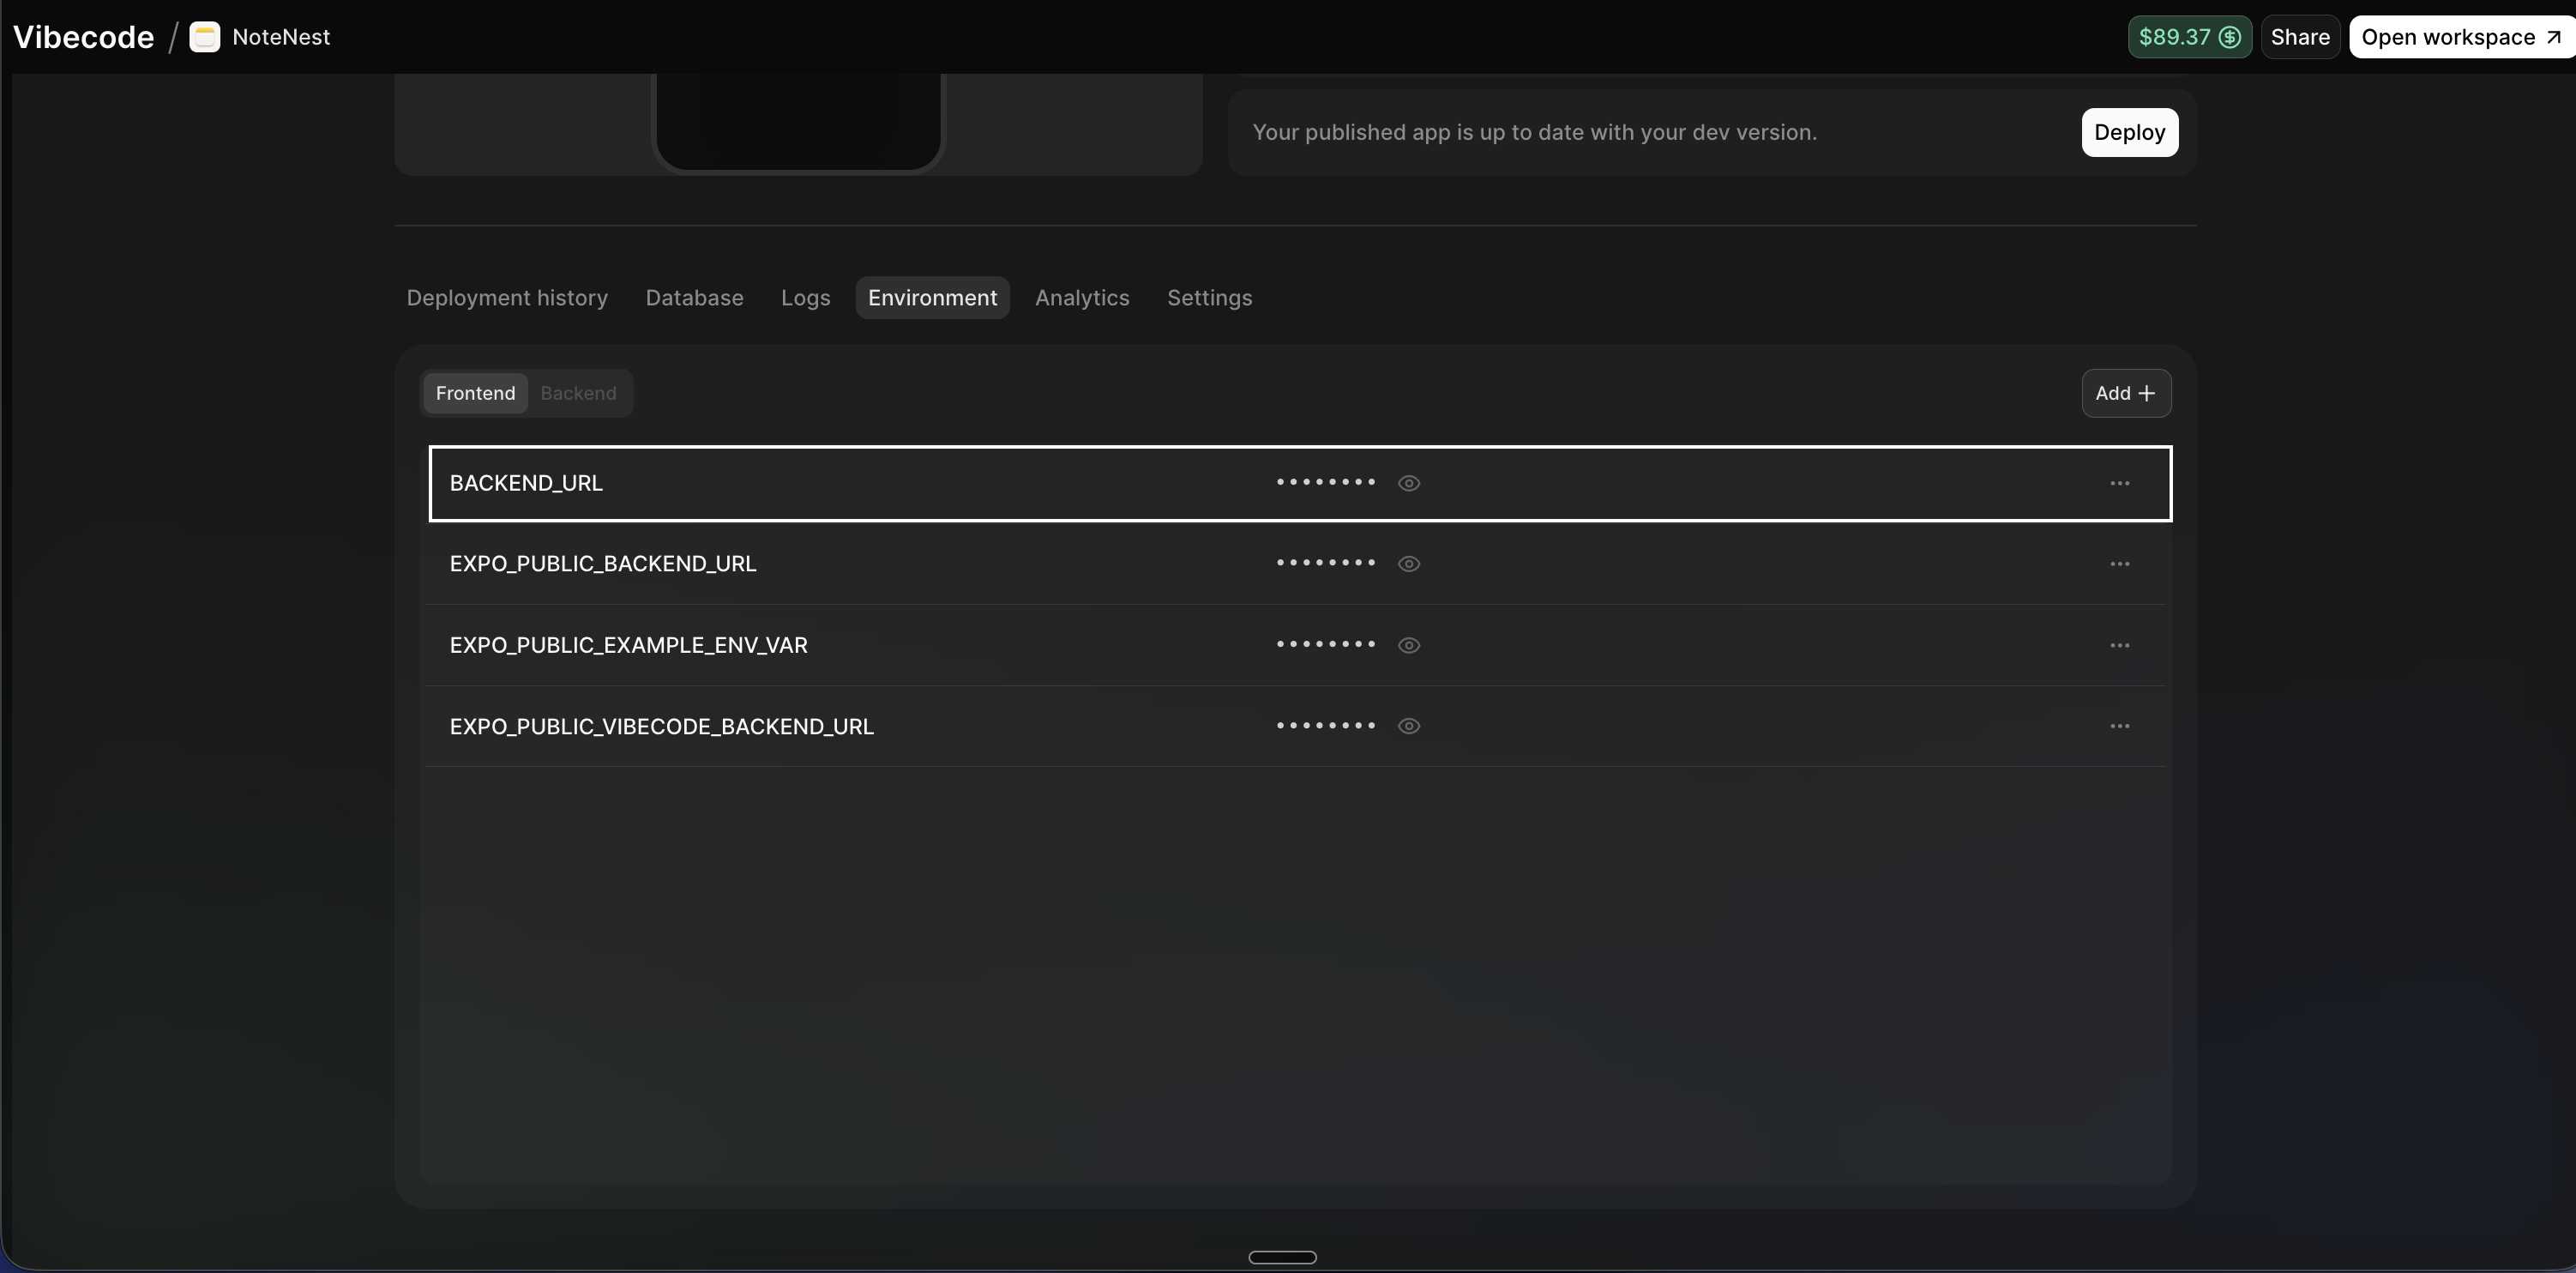
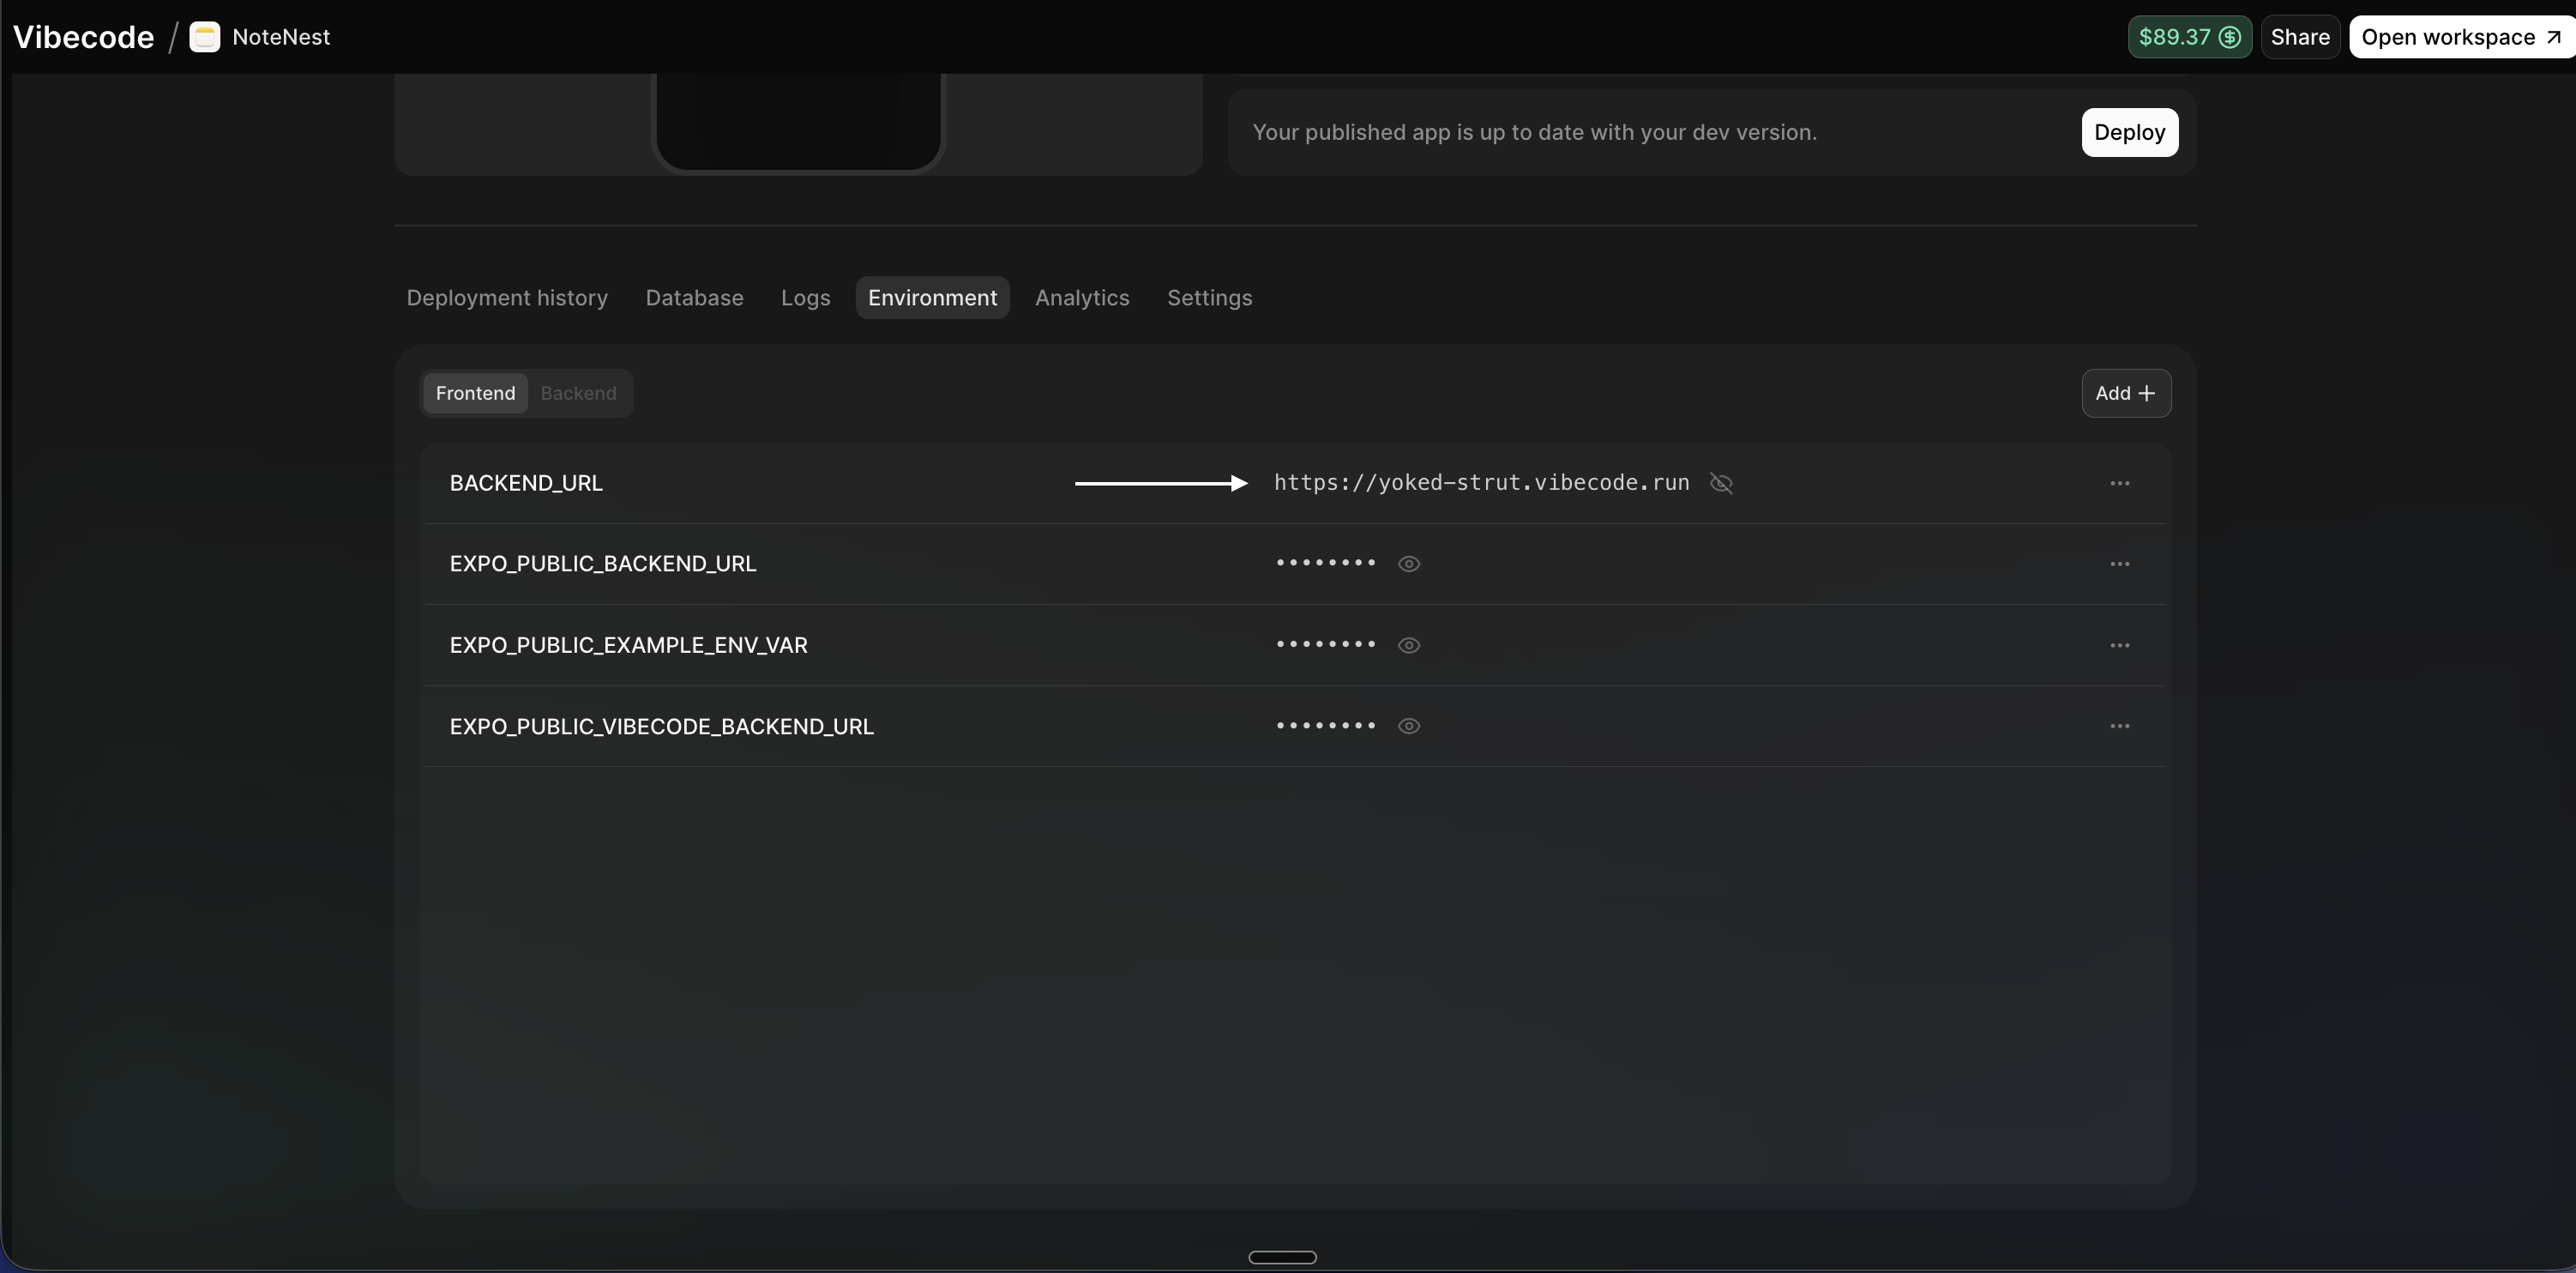
I've added GOOGLE_CLIENT_ID and GOOGLE_CLIENT_SECRET to the backend environment variables (Backend section). Please set up Google Sign-In with Better Auth for my app by implementing the following exactly. Use the default scheme (e.g. "vibecode") for the setup — that will work when testing inside the Vibecode app.
After setup, tell the user: "The Vibecode scheme will work inside the Vibecode app. When you publish your real app, you must update the scheme to match your app's bundle identifier in: app.json (expo.scheme), auth-client.ts (expoClient scheme and storagePrefix), the sign-in handler (SecureStore key = scheme_cookie, callbackURL = scheme://), and backend auth.ts (trustedOrigins). Google Console redirect URI does not need to change."
---
BACKEND — backend/src/auth.ts
Replace or update the file so it uses this Better Auth config. Keep any existing emailOTP plugin if present. Use env.GOOGLE_CLIENT_ID and env.GOOGLE_CLIENT_SECRET. CRITICAL: plugins: [expo()] from @better-auth/expo, account: { skipStateCookieCheck: true, accountLinking: { enabled: true } }, disableCSRFCheck: true at the top level, and trustedOrigins including my app scheme (e.g. "vibecode://", "vibecode://*", "vibecode:///*") plus exp://* and my backend domains. basePath: "/api/auth". advanced: useSecureCookies, defaultCookieAttributes (sameSite: "none", secure: true, partitioned: true), crossSubDomainCookies, trustedProxyHeaders.
Full example (use "vibecode" for now; user updates to their app scheme when they publish):
import { betterAuth } from "better-auth";
import { expo } from "@better-auth/expo";
import { prismaAdapter } from "better-auth/adapters/prisma";
import { prisma } from "./prisma";
import { env } from "./env";
export const auth = betterAuth({
database: prismaAdapter(prisma, { provider: "sqlite" }),
baseURL: env.BACKEND_URL,
basePath: "/api/auth",
secret: env.BETTER_AUTH_SECRET,
socialProviders: {
google: {
clientId: env.GOOGLE_CLIENT_ID || "",
clientSecret: env.GOOGLE_CLIENT_SECRET || "",
},
},
account: {
skipStateCookieCheck: true,
accountLinking: { enabled: true },
},
plugins: [expo()],
disableCSRFCheck: true,
trustedOrigins: [
"vibecode://", "vibecode://*", "vibecode:///*",
"exp://*", "http://localhost:*", "http://127.0.0.1:*",
"https://*.dev.vibecode.run", "https://*.vibecode.run", "https://vibecode.dev",
],
advanced: {
useSecureCookies: true,
defaultCookieAttributes: { sameSite: "none", secure: true, partitioned: true },
crossSubDomainCookies: { enabled: true },
trustedProxyHeaders: true,
disableCSRFCheck: true,
},
});
---
BACKEND — backend/src/env.ts
Add to the Zod schema:
GOOGLE_CLIENT_ID: z.string().min(1, "GOOGLE_CLIENT_ID is required"),
GOOGLE_CLIENT_SECRET: z.string().min(1, "GOOGLE_CLIENT_SECRET is required"),
---
MOBILE — src/lib/auth/auth-client.ts
Use createAuthClient with baseURL from EXPO_PUBLIC_BACKEND_URL. CRITICAL: import "expo-web-browser" at top (required even if unused). Use expoClient from @better-auth/expo/client with scheme and storagePrefix matching app.json (e.g. "vibecode"), and storage: SecureStore.
Example:
import { createAuthClient } from "better-auth/react";
import { expoClient } from "@better-auth/expo/client";
import * as SecureStore from "expo-secure-store";
import "expo-web-browser";
export const authClient = createAuthClient({
baseURL: process.env.EXPO_PUBLIC_BACKEND_URL! as string,
plugins: [
expoClient({
scheme: "vibecode",
storagePrefix: "vibecode",
storage: SecureStore,
}),
],
});
---
MOBILE — Sign-in screen: Google Sign-In button handler
MUST have WebBrowser.maybeCompleteAuthSession() at the top of the file, outside the component. Then implement handleGoogleSignIn that:
1. POST to BACKEND_URL/api/auth/sign-in/social with body { provider: "google", callbackURL }. callbackURL = "vibecode://" on native (or my scheme), or window.location.origin on web.
2. On web: window.location.href = data.url and return.
3. On native: WebBrowser.openAuthSessionAsync(data.url, callbackURL). On success, parse callback URL for cookie param, extract __Secure-better-auth.session_token, decode, build cookieJson with value and expires (e.g. 7 days), then SecureStore.setItemAsync("vibecode_cookie", cookieJson). Key must be storagePrefix + "_cookie". Then call invalidateSession().
4. Also add useEffect in the component for web: if Platform.OS === "web" and URL has code or session, call invalidateSession().
Use BACKEND_URL = process.env.EXPO_PUBLIC_BACKEND_URL. Headers: Content-Type application/json, Origin BACKEND_URL. credentials: "include".
---
app.json
Ensure expo.scheme is set, e.g. "vibecode", and that this value is used consistently everywhere (auth client scheme, storagePrefix, callbackURL, trustedOrigins).
---
CHECKLIST — these must all match:
- app.json "scheme" = e.g. vibecode
- expoClient({ scheme }) = same
- expoClient({ storagePrefix }) = same
- SecureStore key = storagePrefix + "_cookie" (e.g. vibecode_cookie)
- callbackURL on native = scheme + "://" (e.g. vibecode://)
- trustedOrigins on backend includes scheme:// and scheme://*
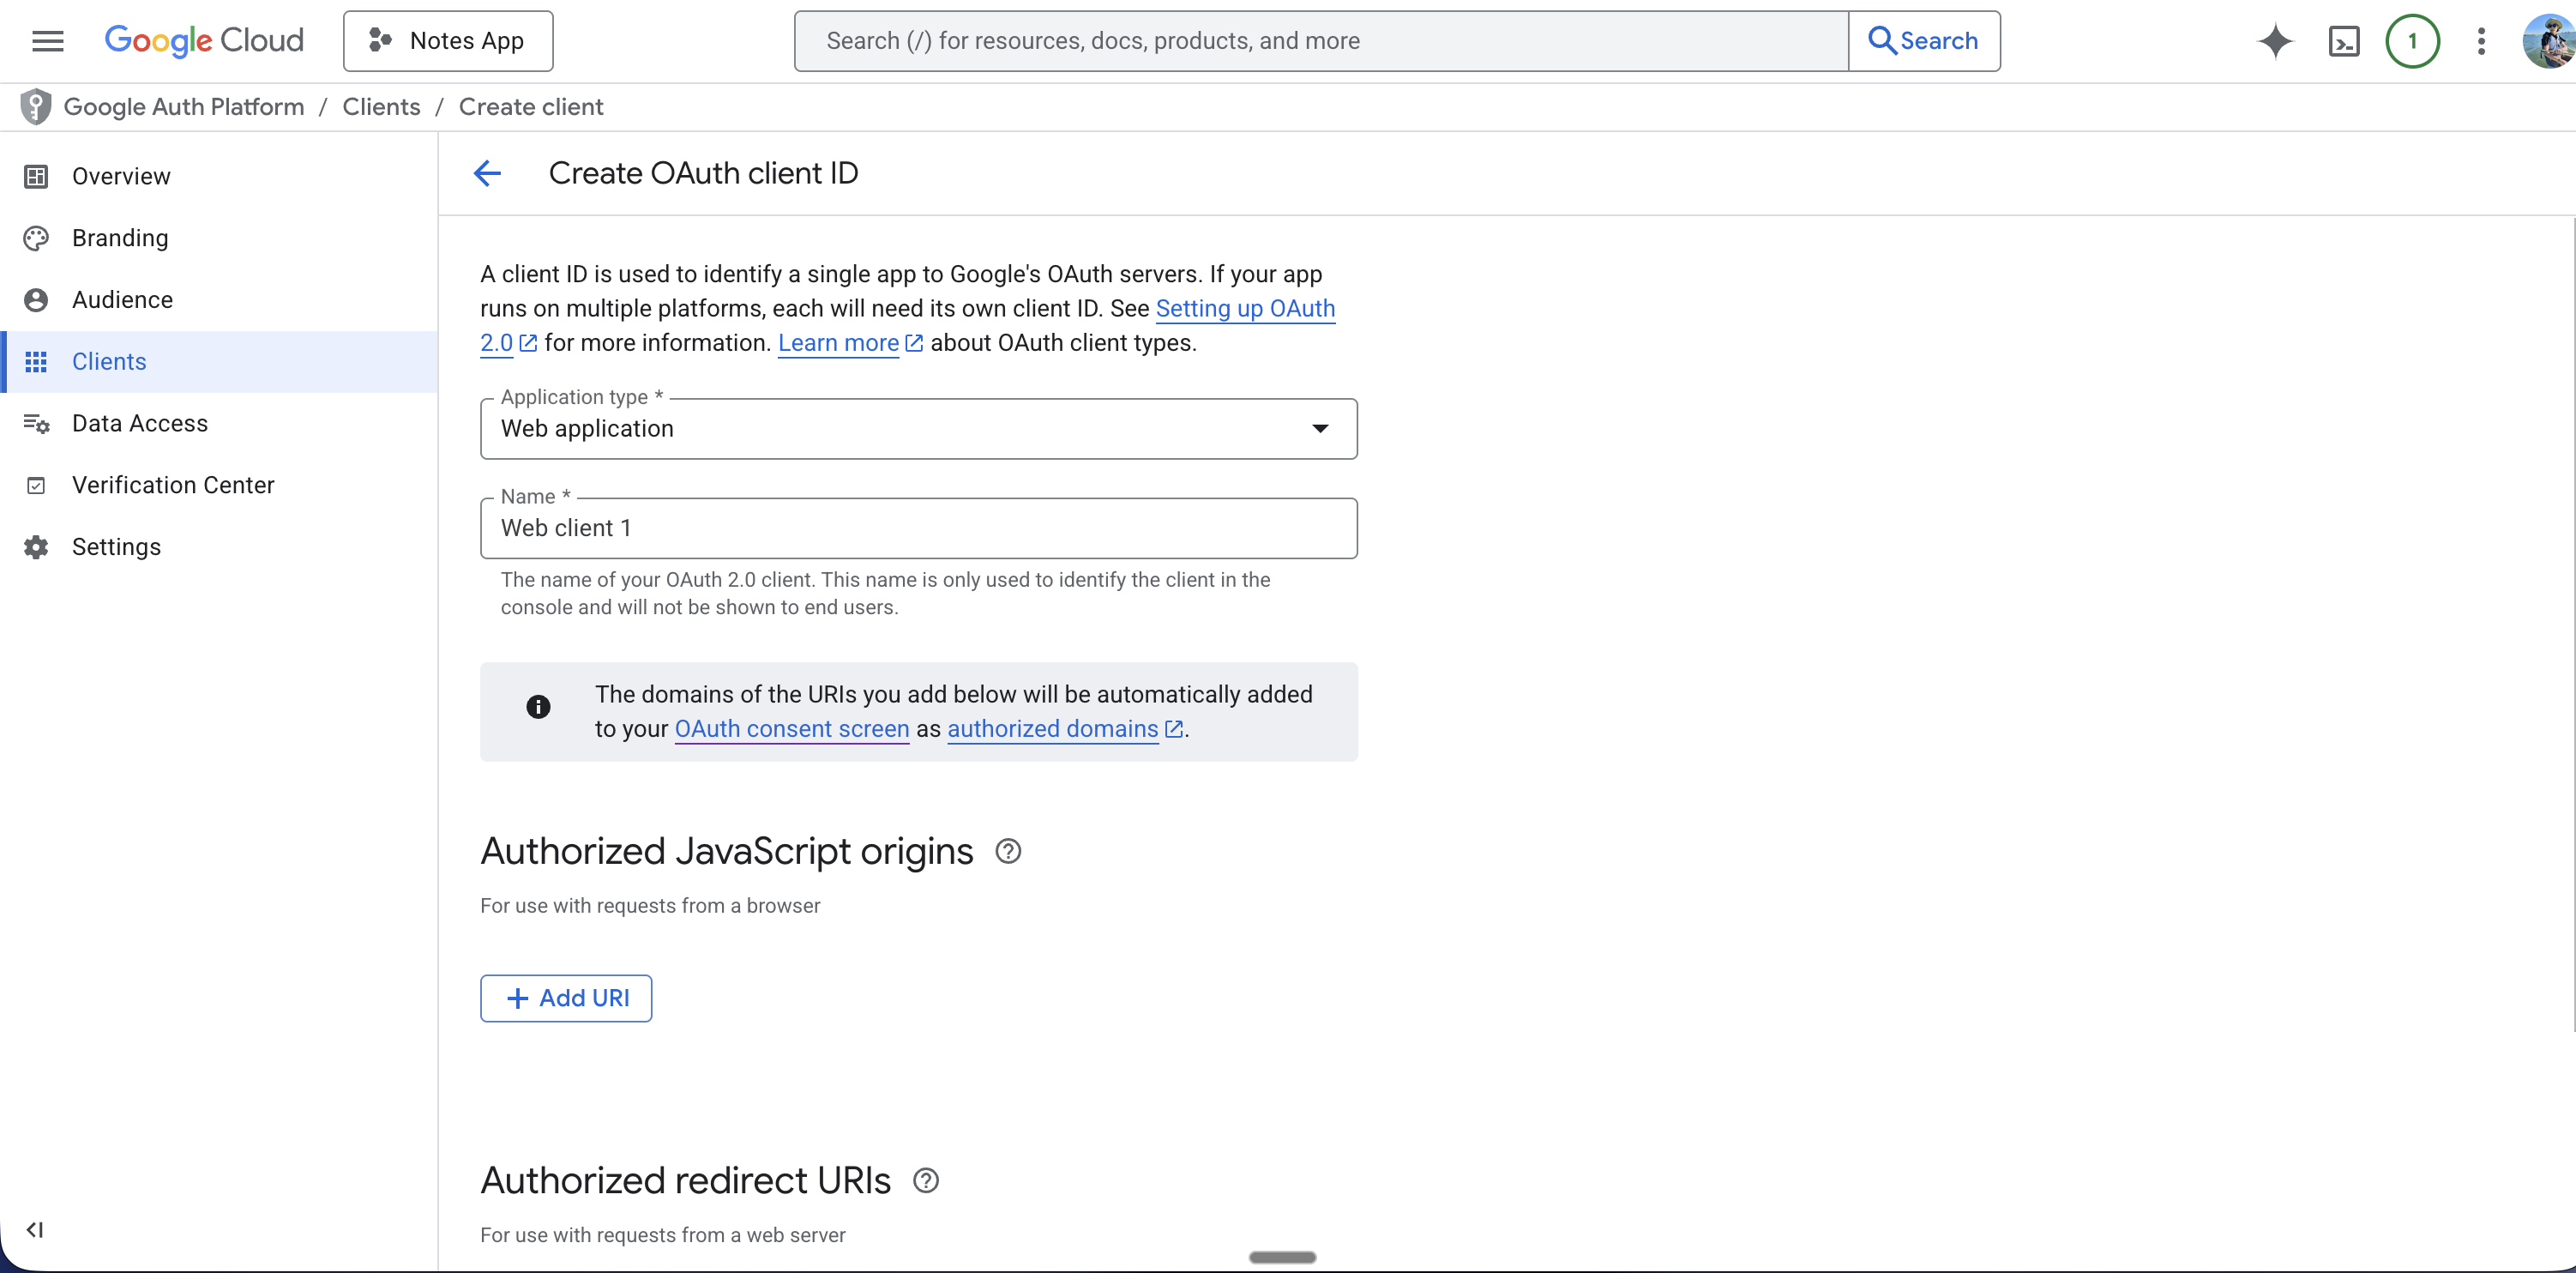
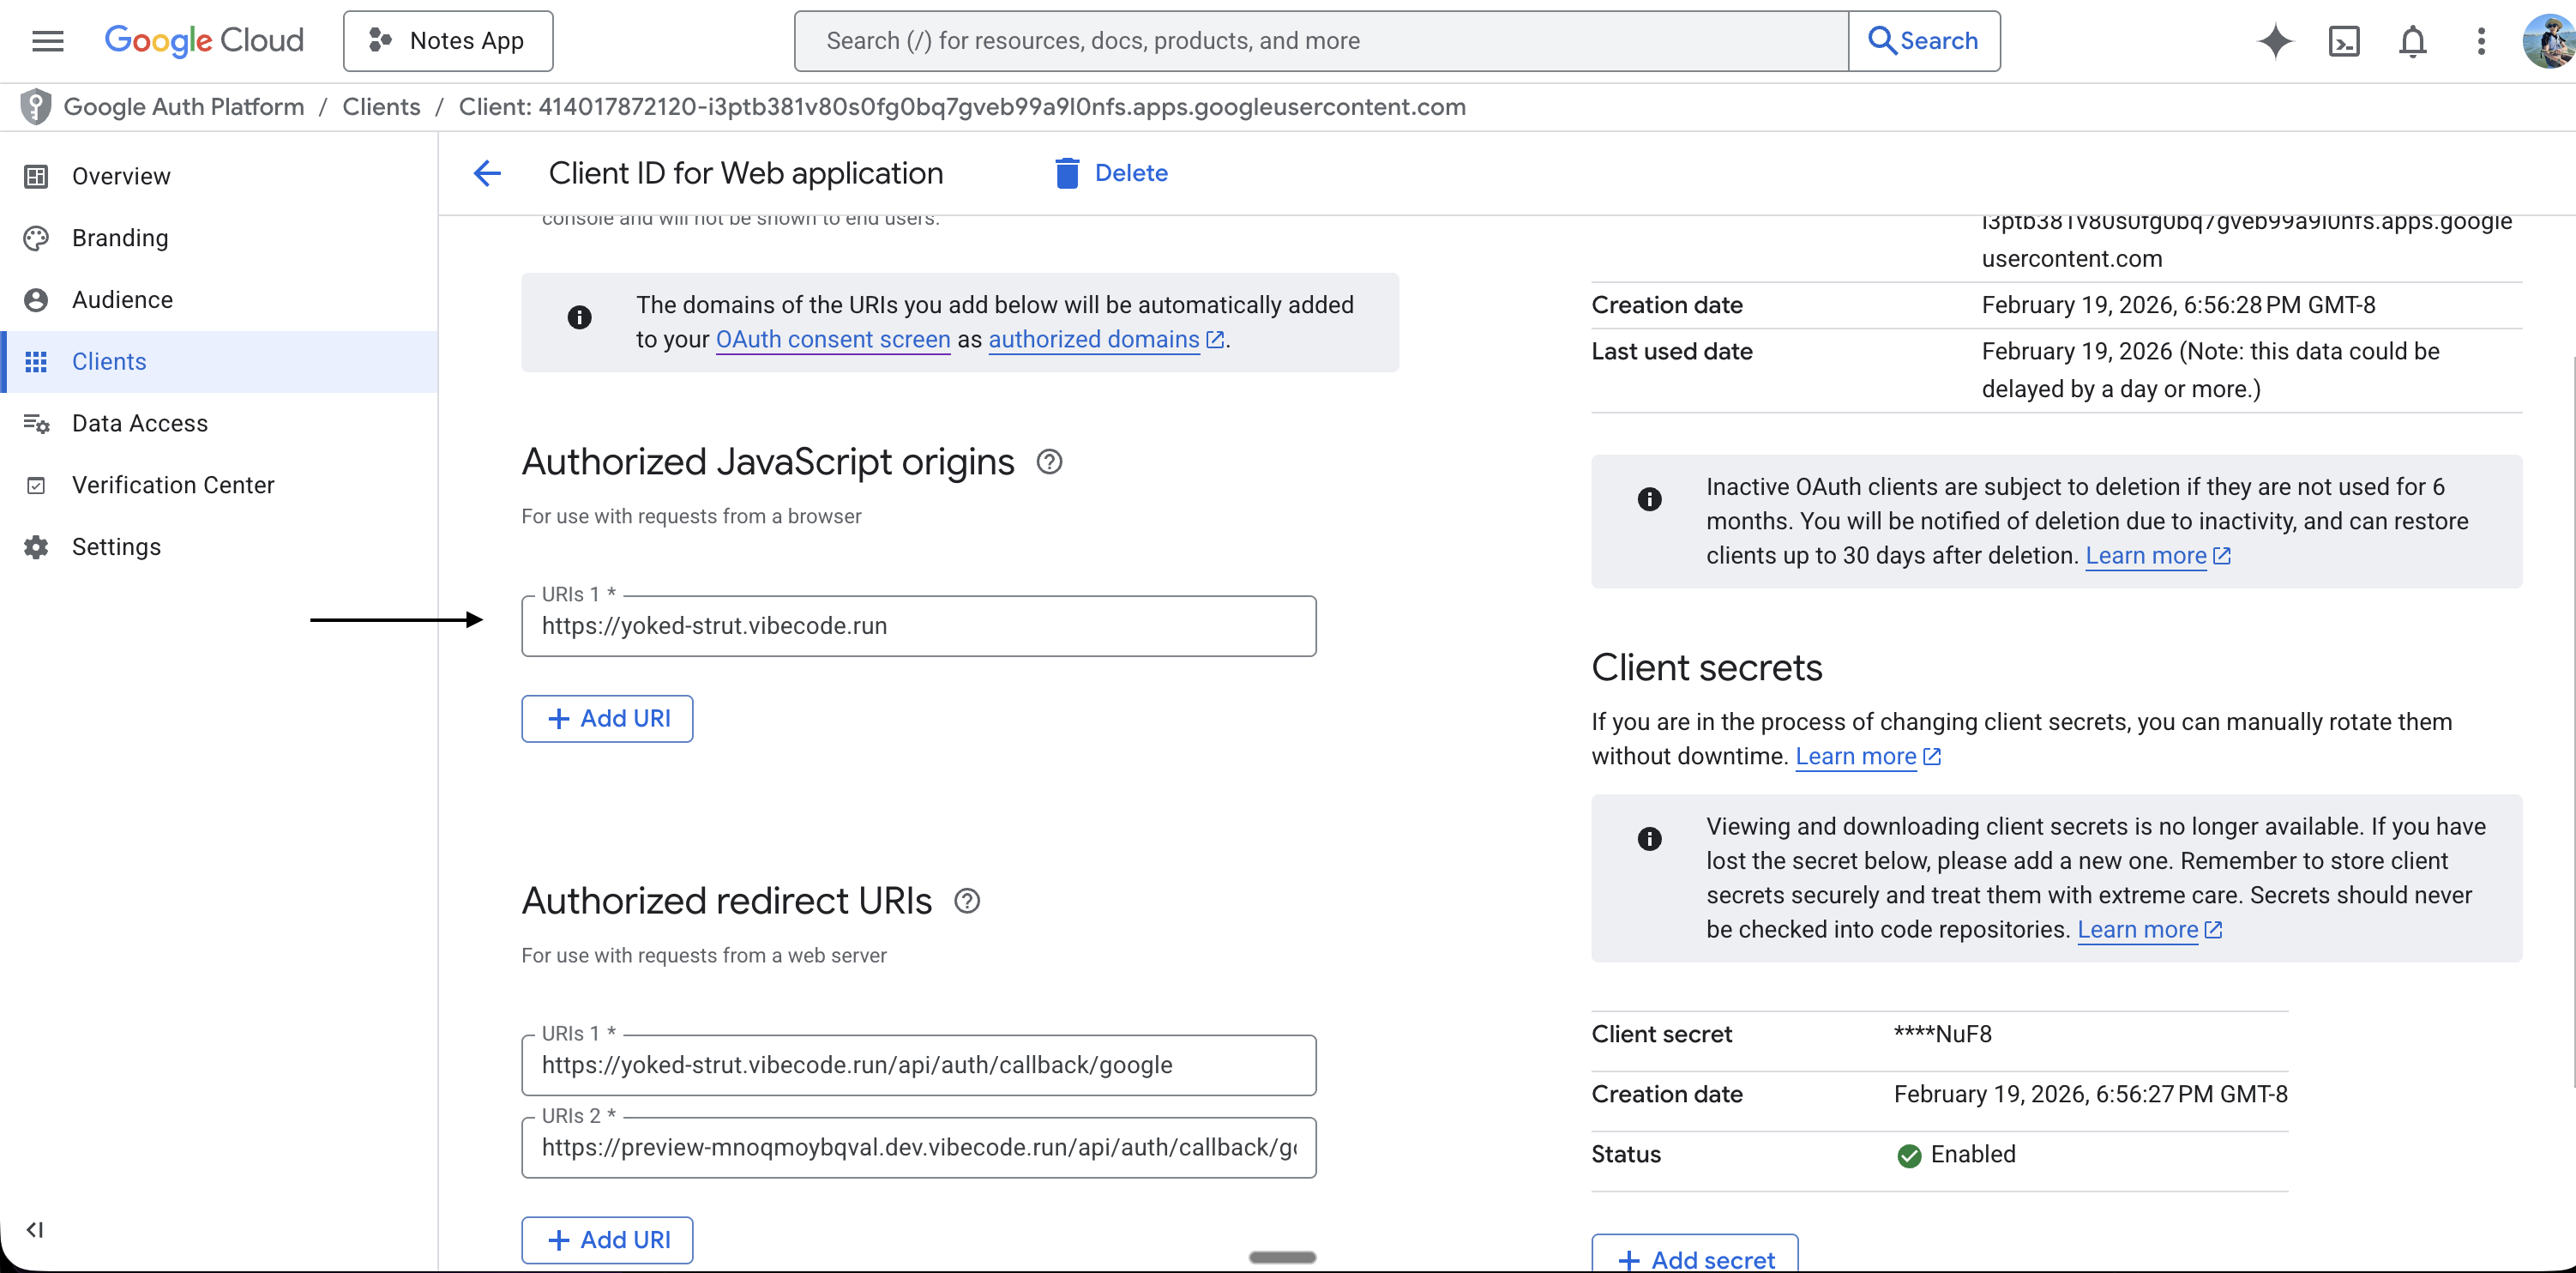
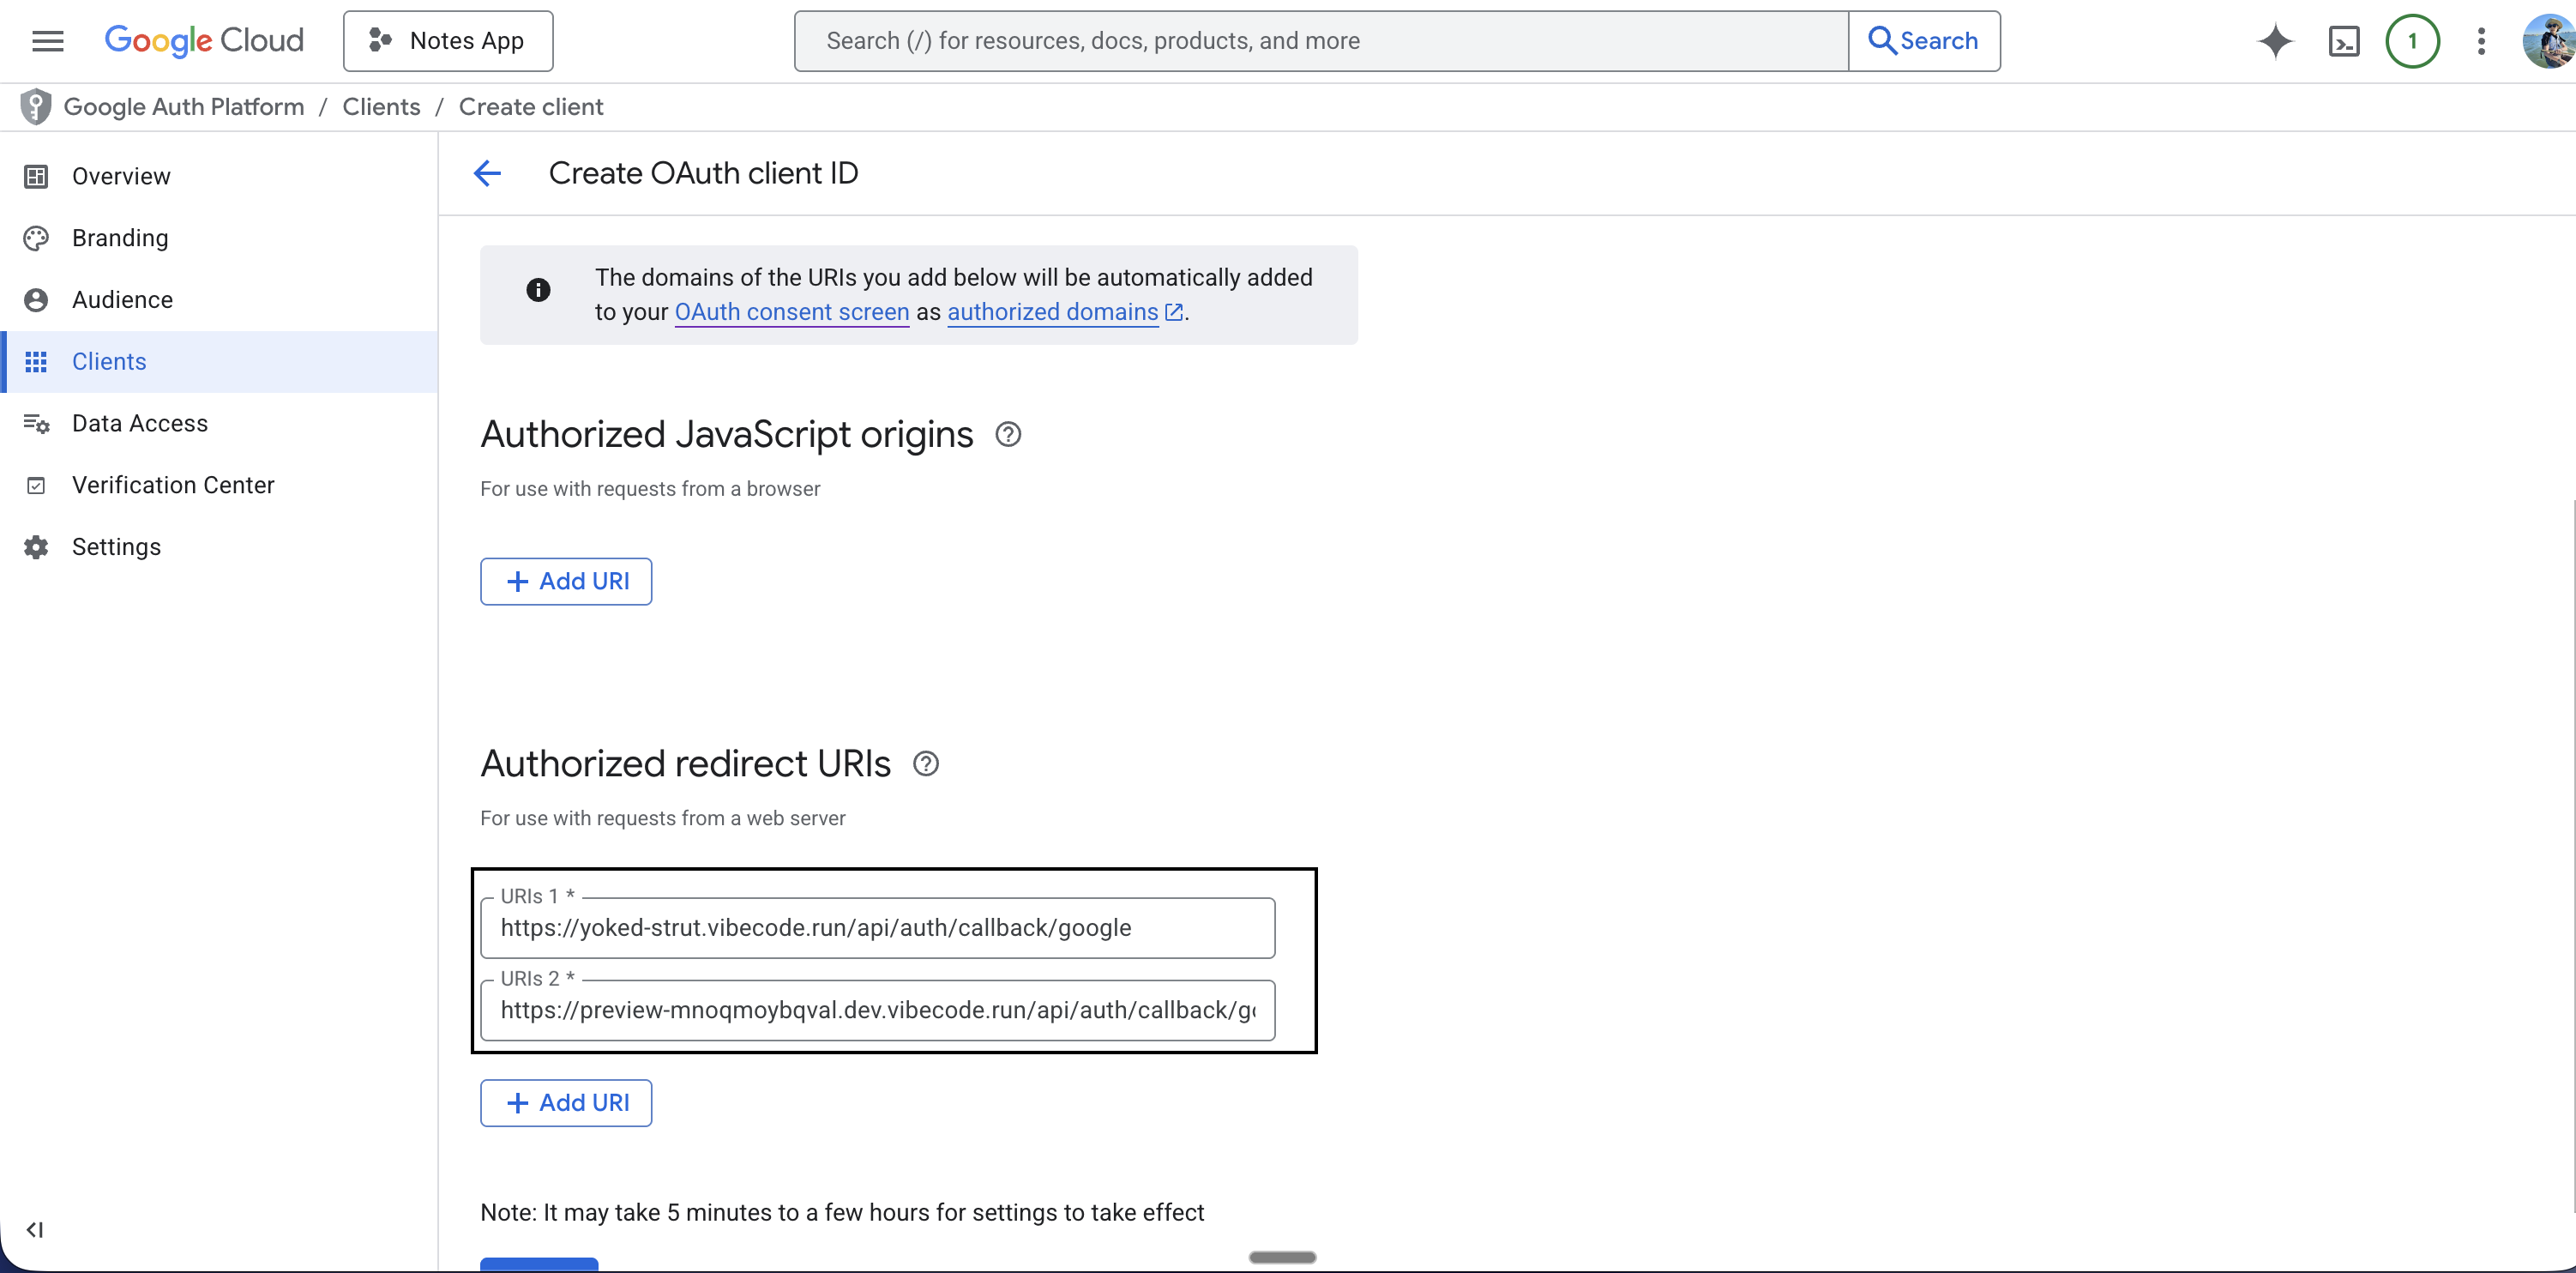
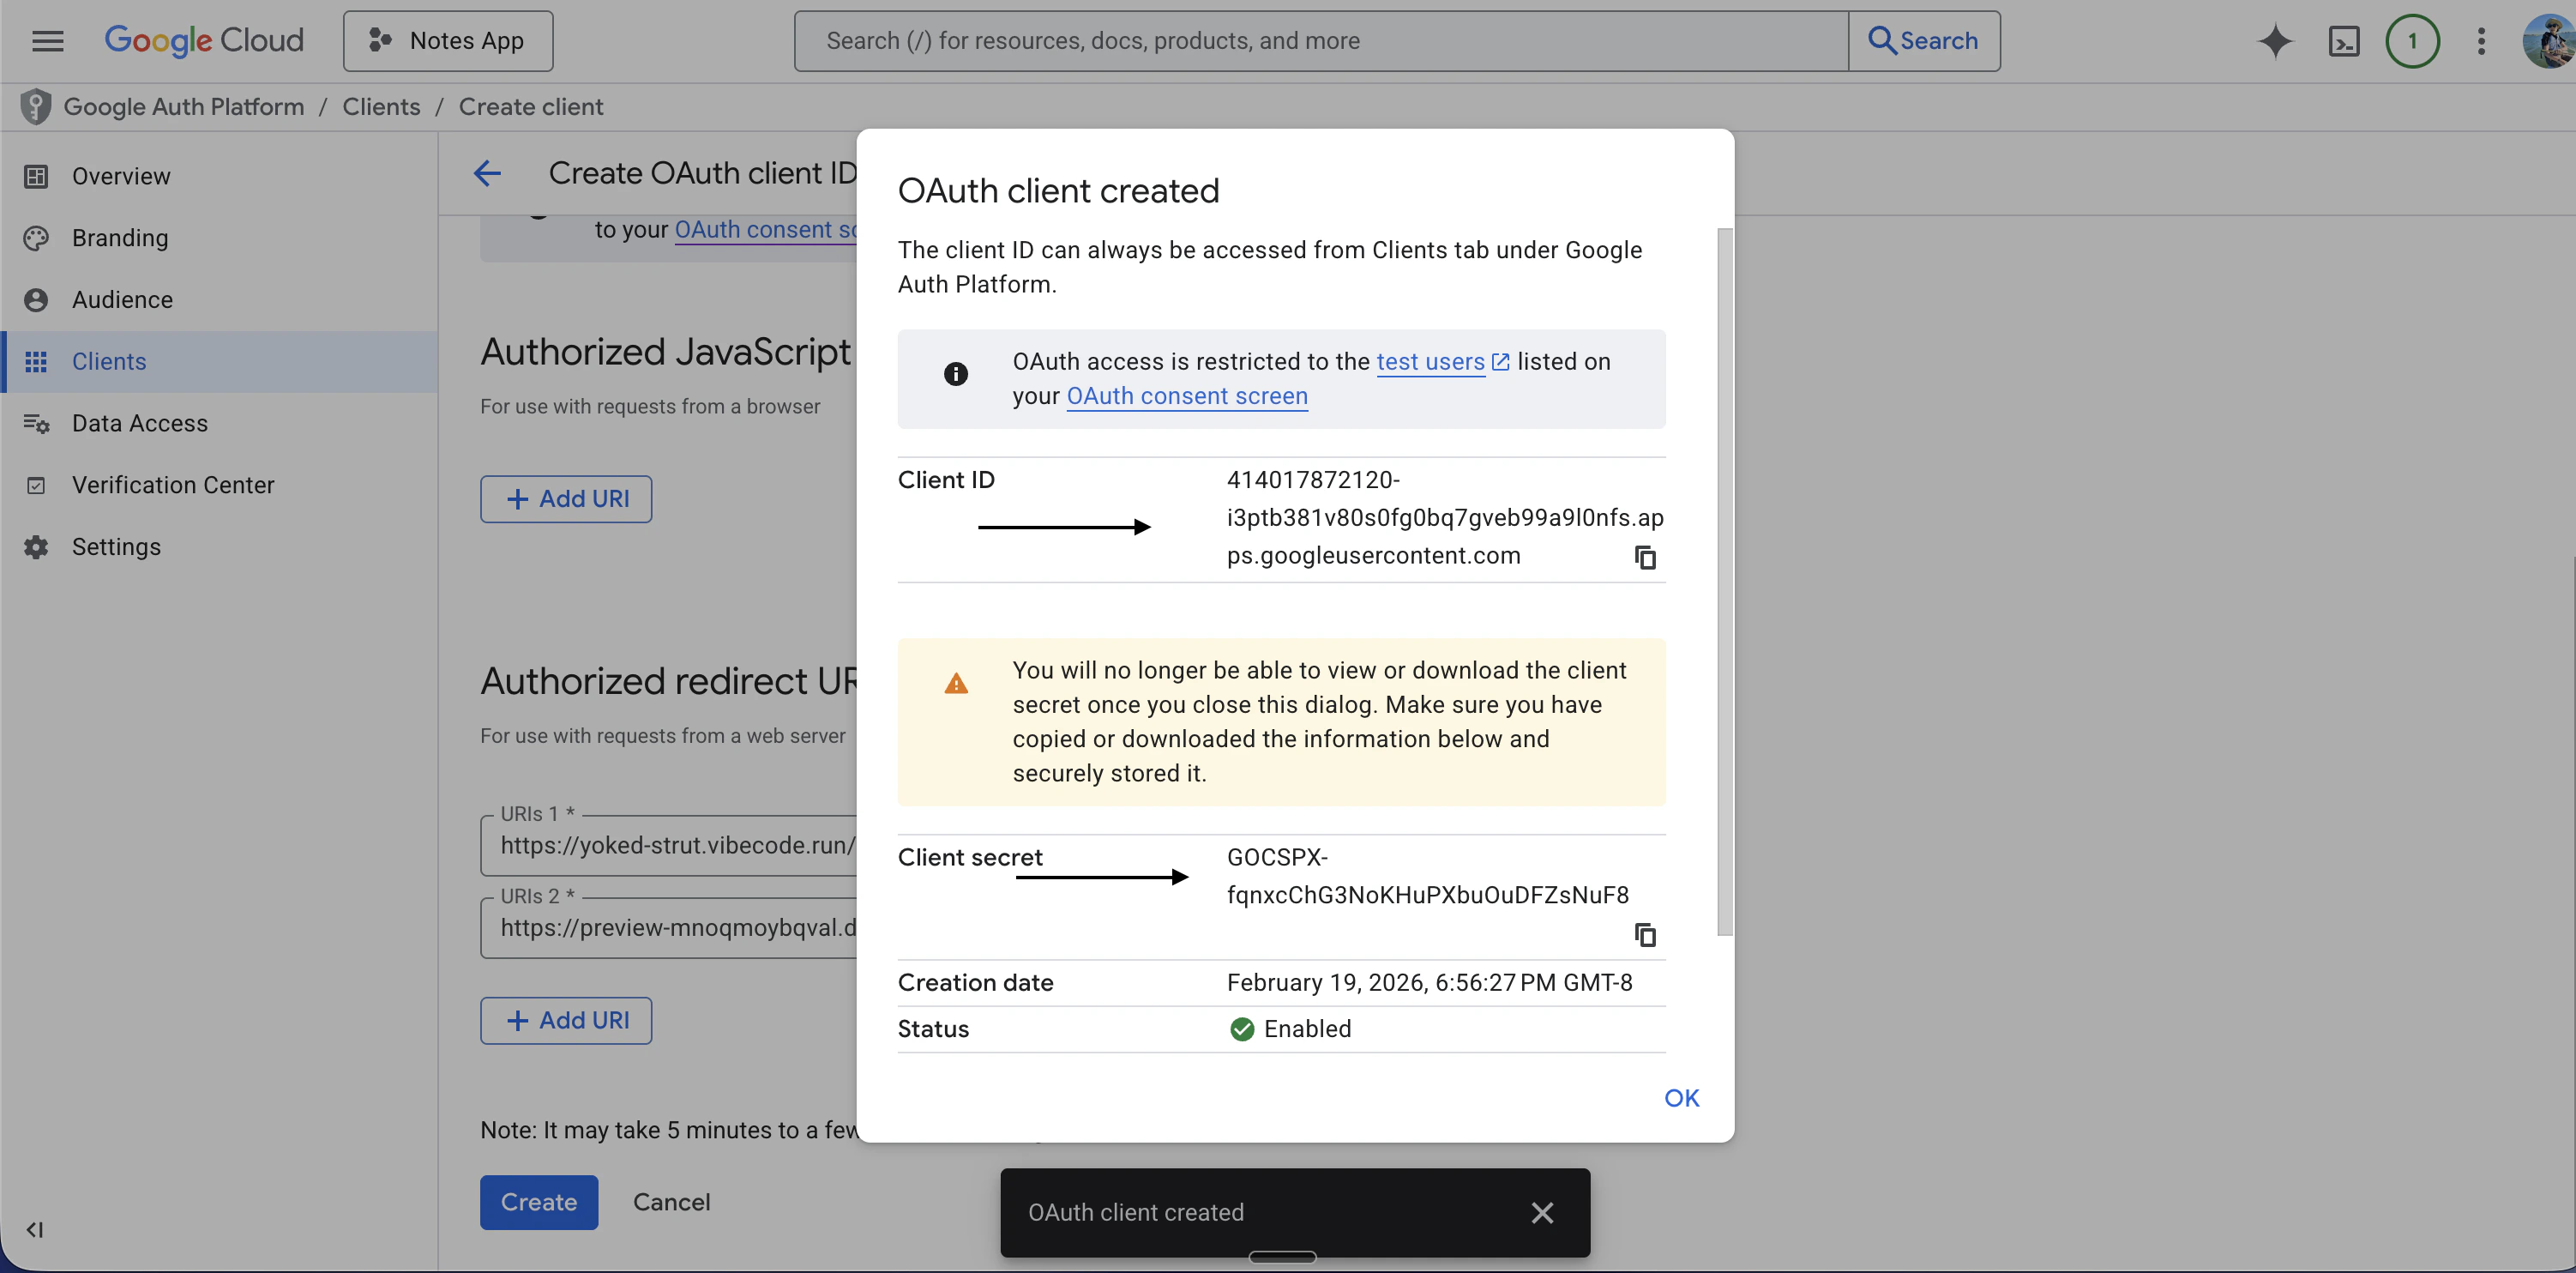
- Google Console Redirect URI = https://YOUR_BACKEND_URL/api/auth/callback/google
- Google Console JavaScript origin = https://YOUR_BACKEND_URL
---
Most common reasons for Google login not to initialize:
- Missing skipStateCookieCheck: true in account on backend
- Missing plugins: [expo()] on backend
- disableCSRFCheck: true not at top level of betterAuth
- import "expo-web-browser" missing from auth-client.ts
- storagePrefix not matching SecureStore key (e.g. vibecode_cookie)
- callbackURL not in trustedOrigins on backend
- Google Console missing Authorized JavaScript origin or Redirect URI
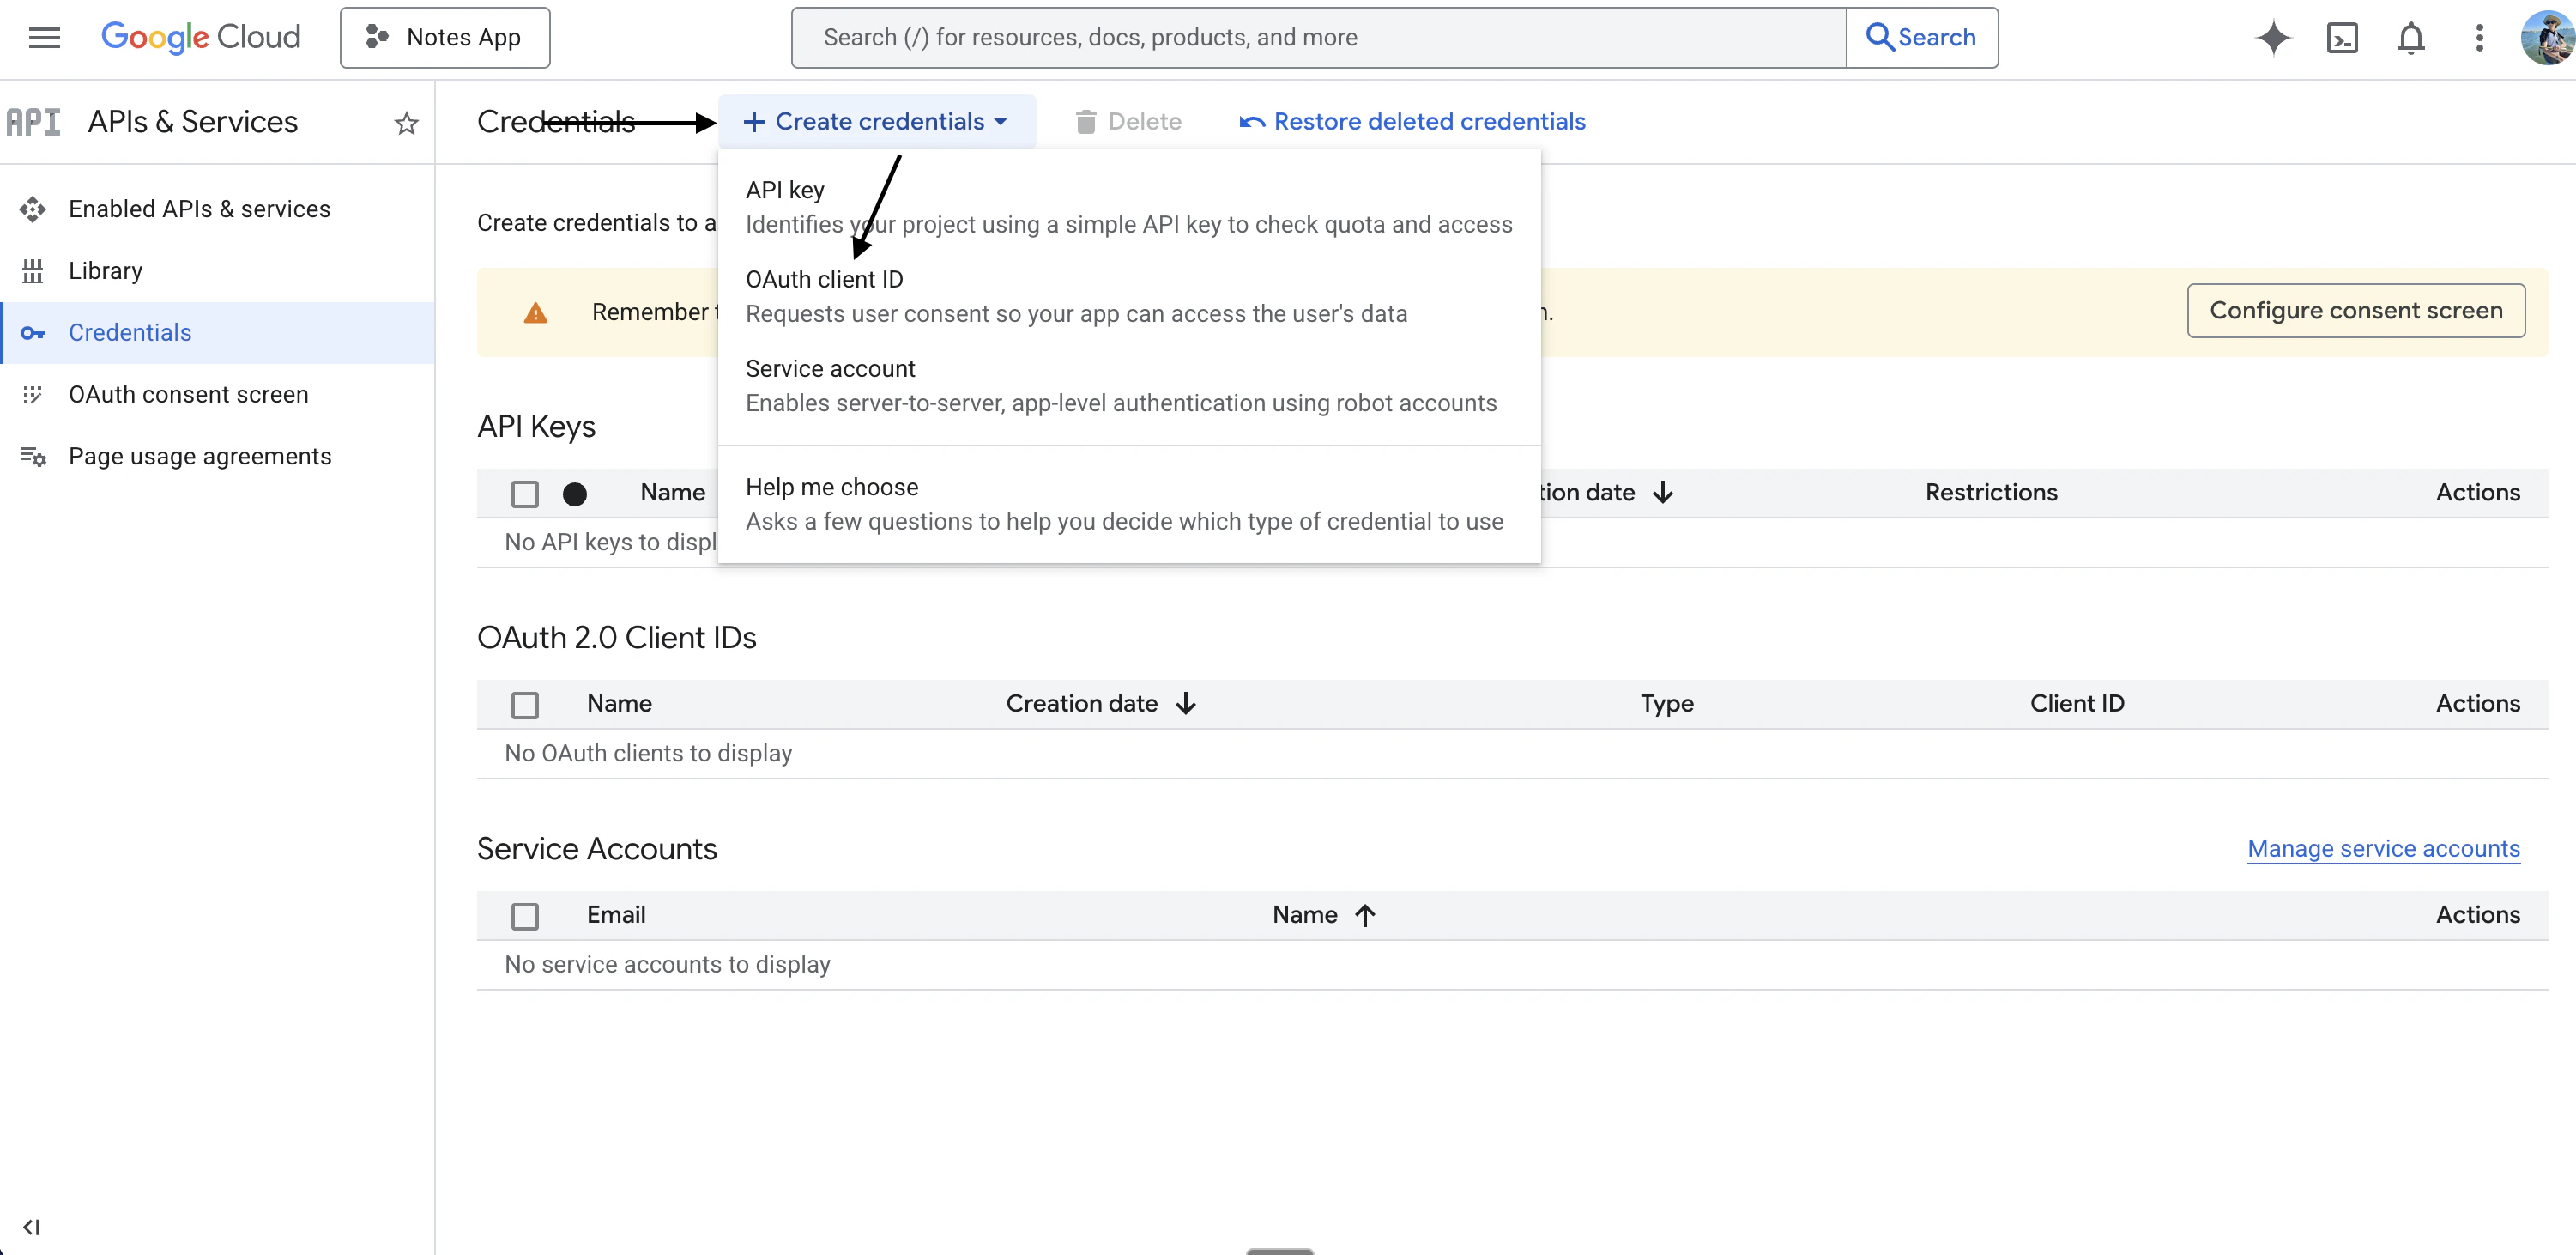
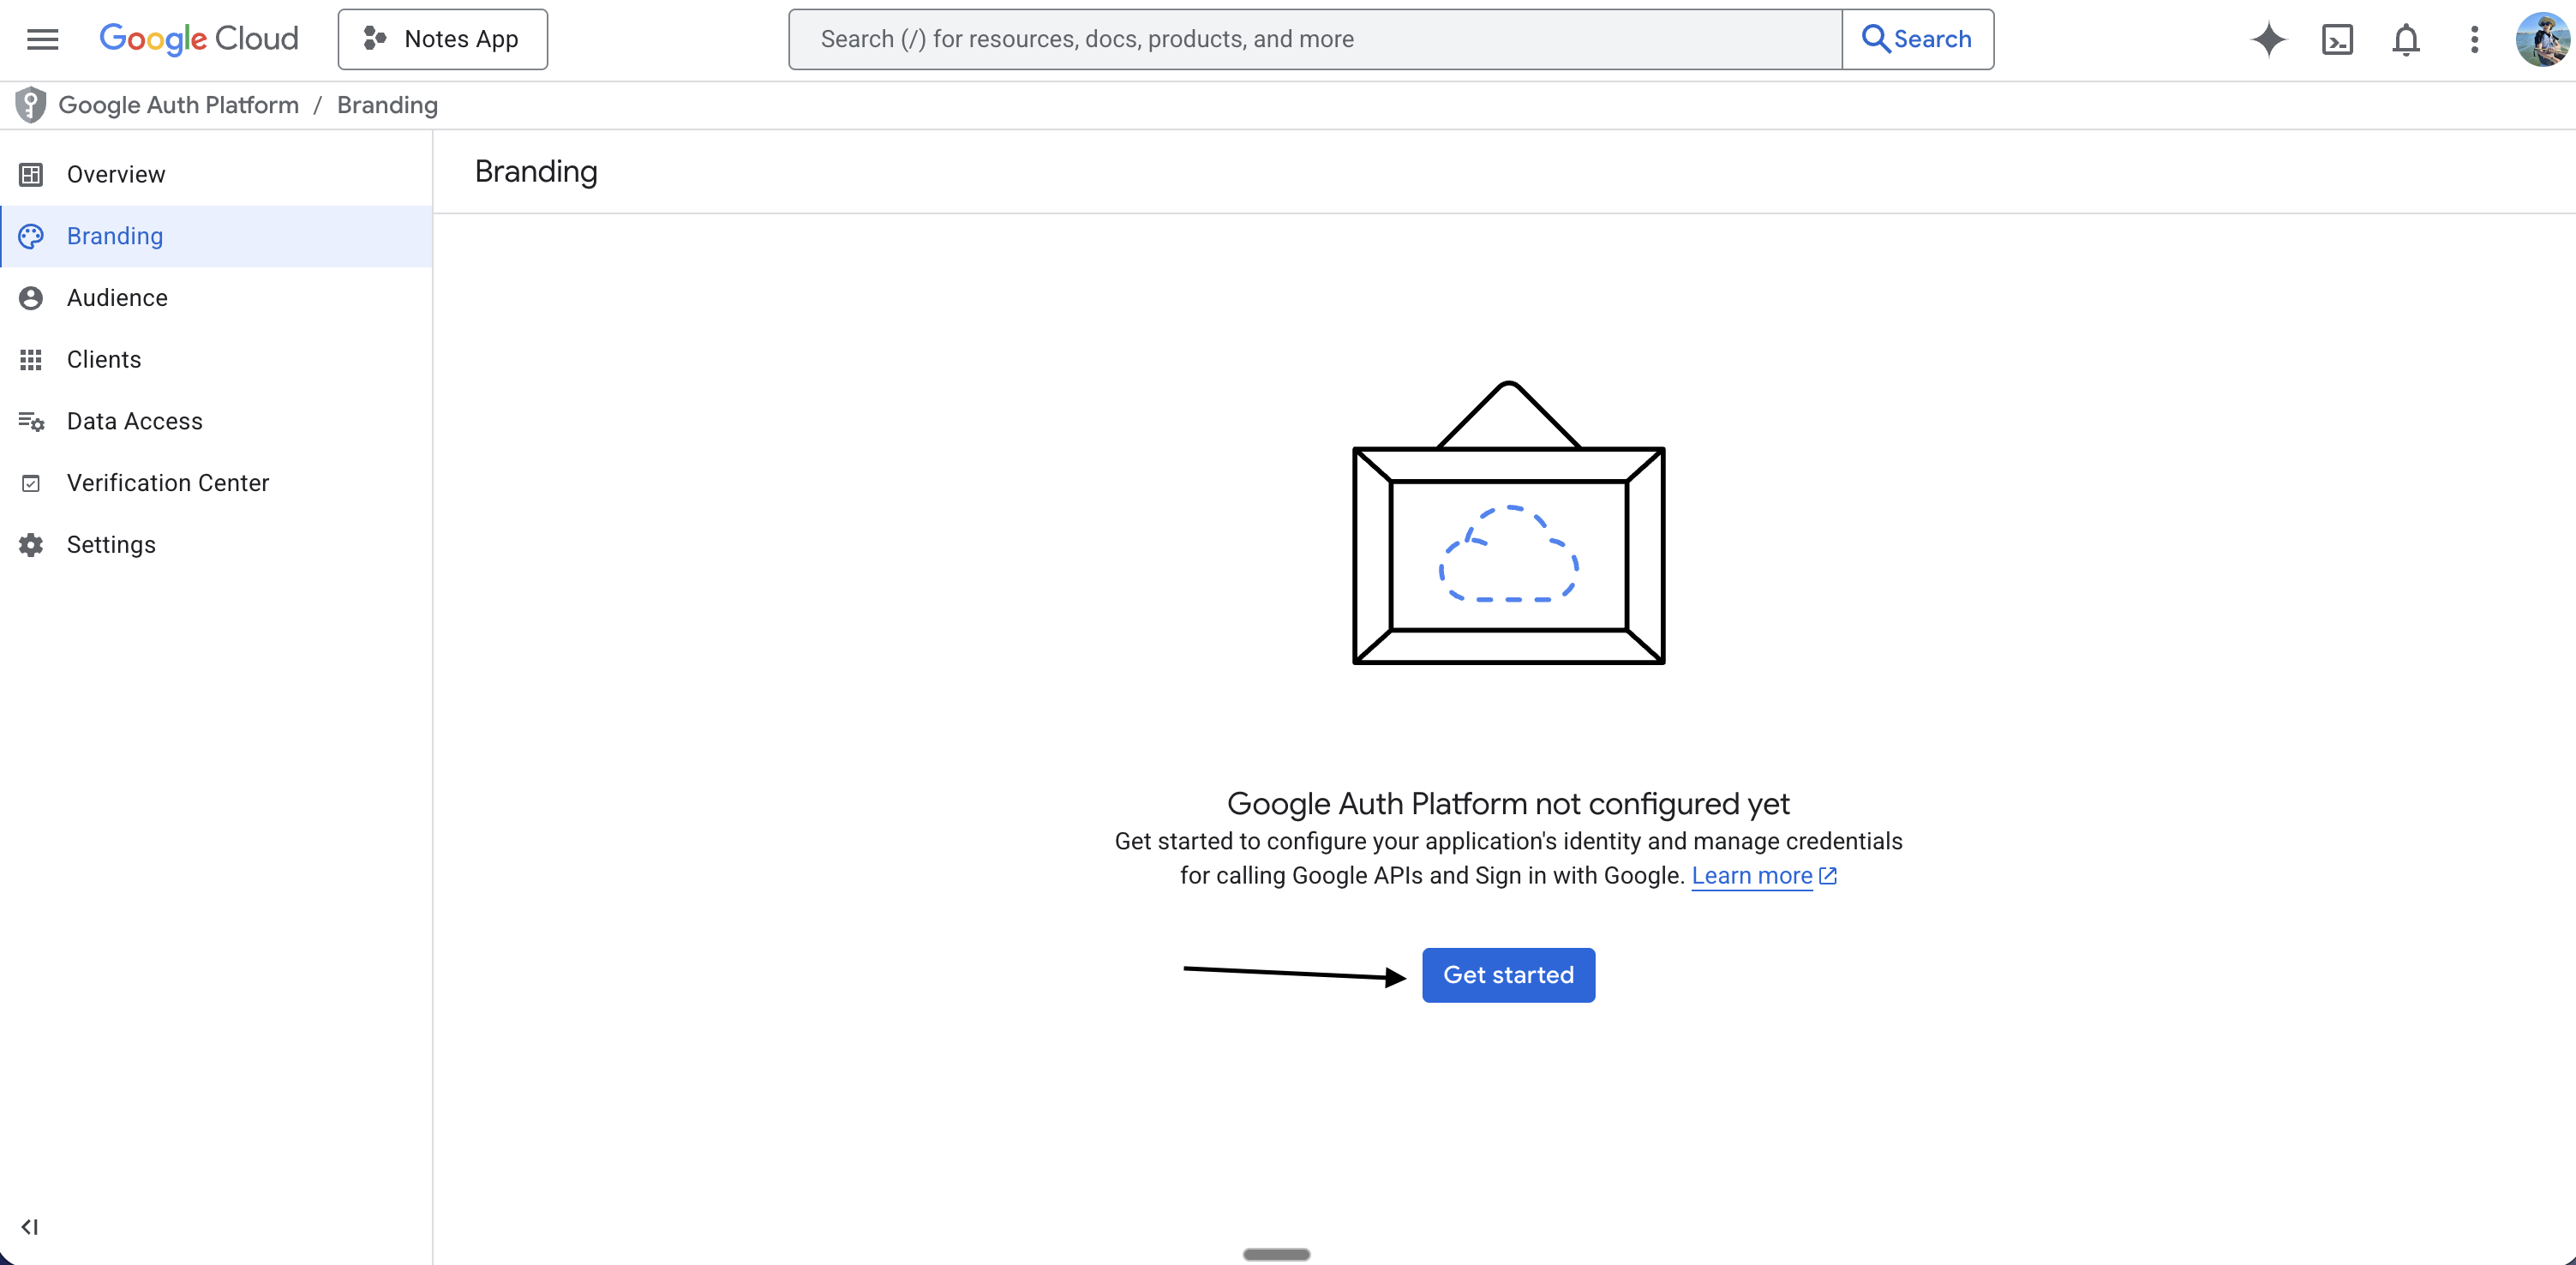
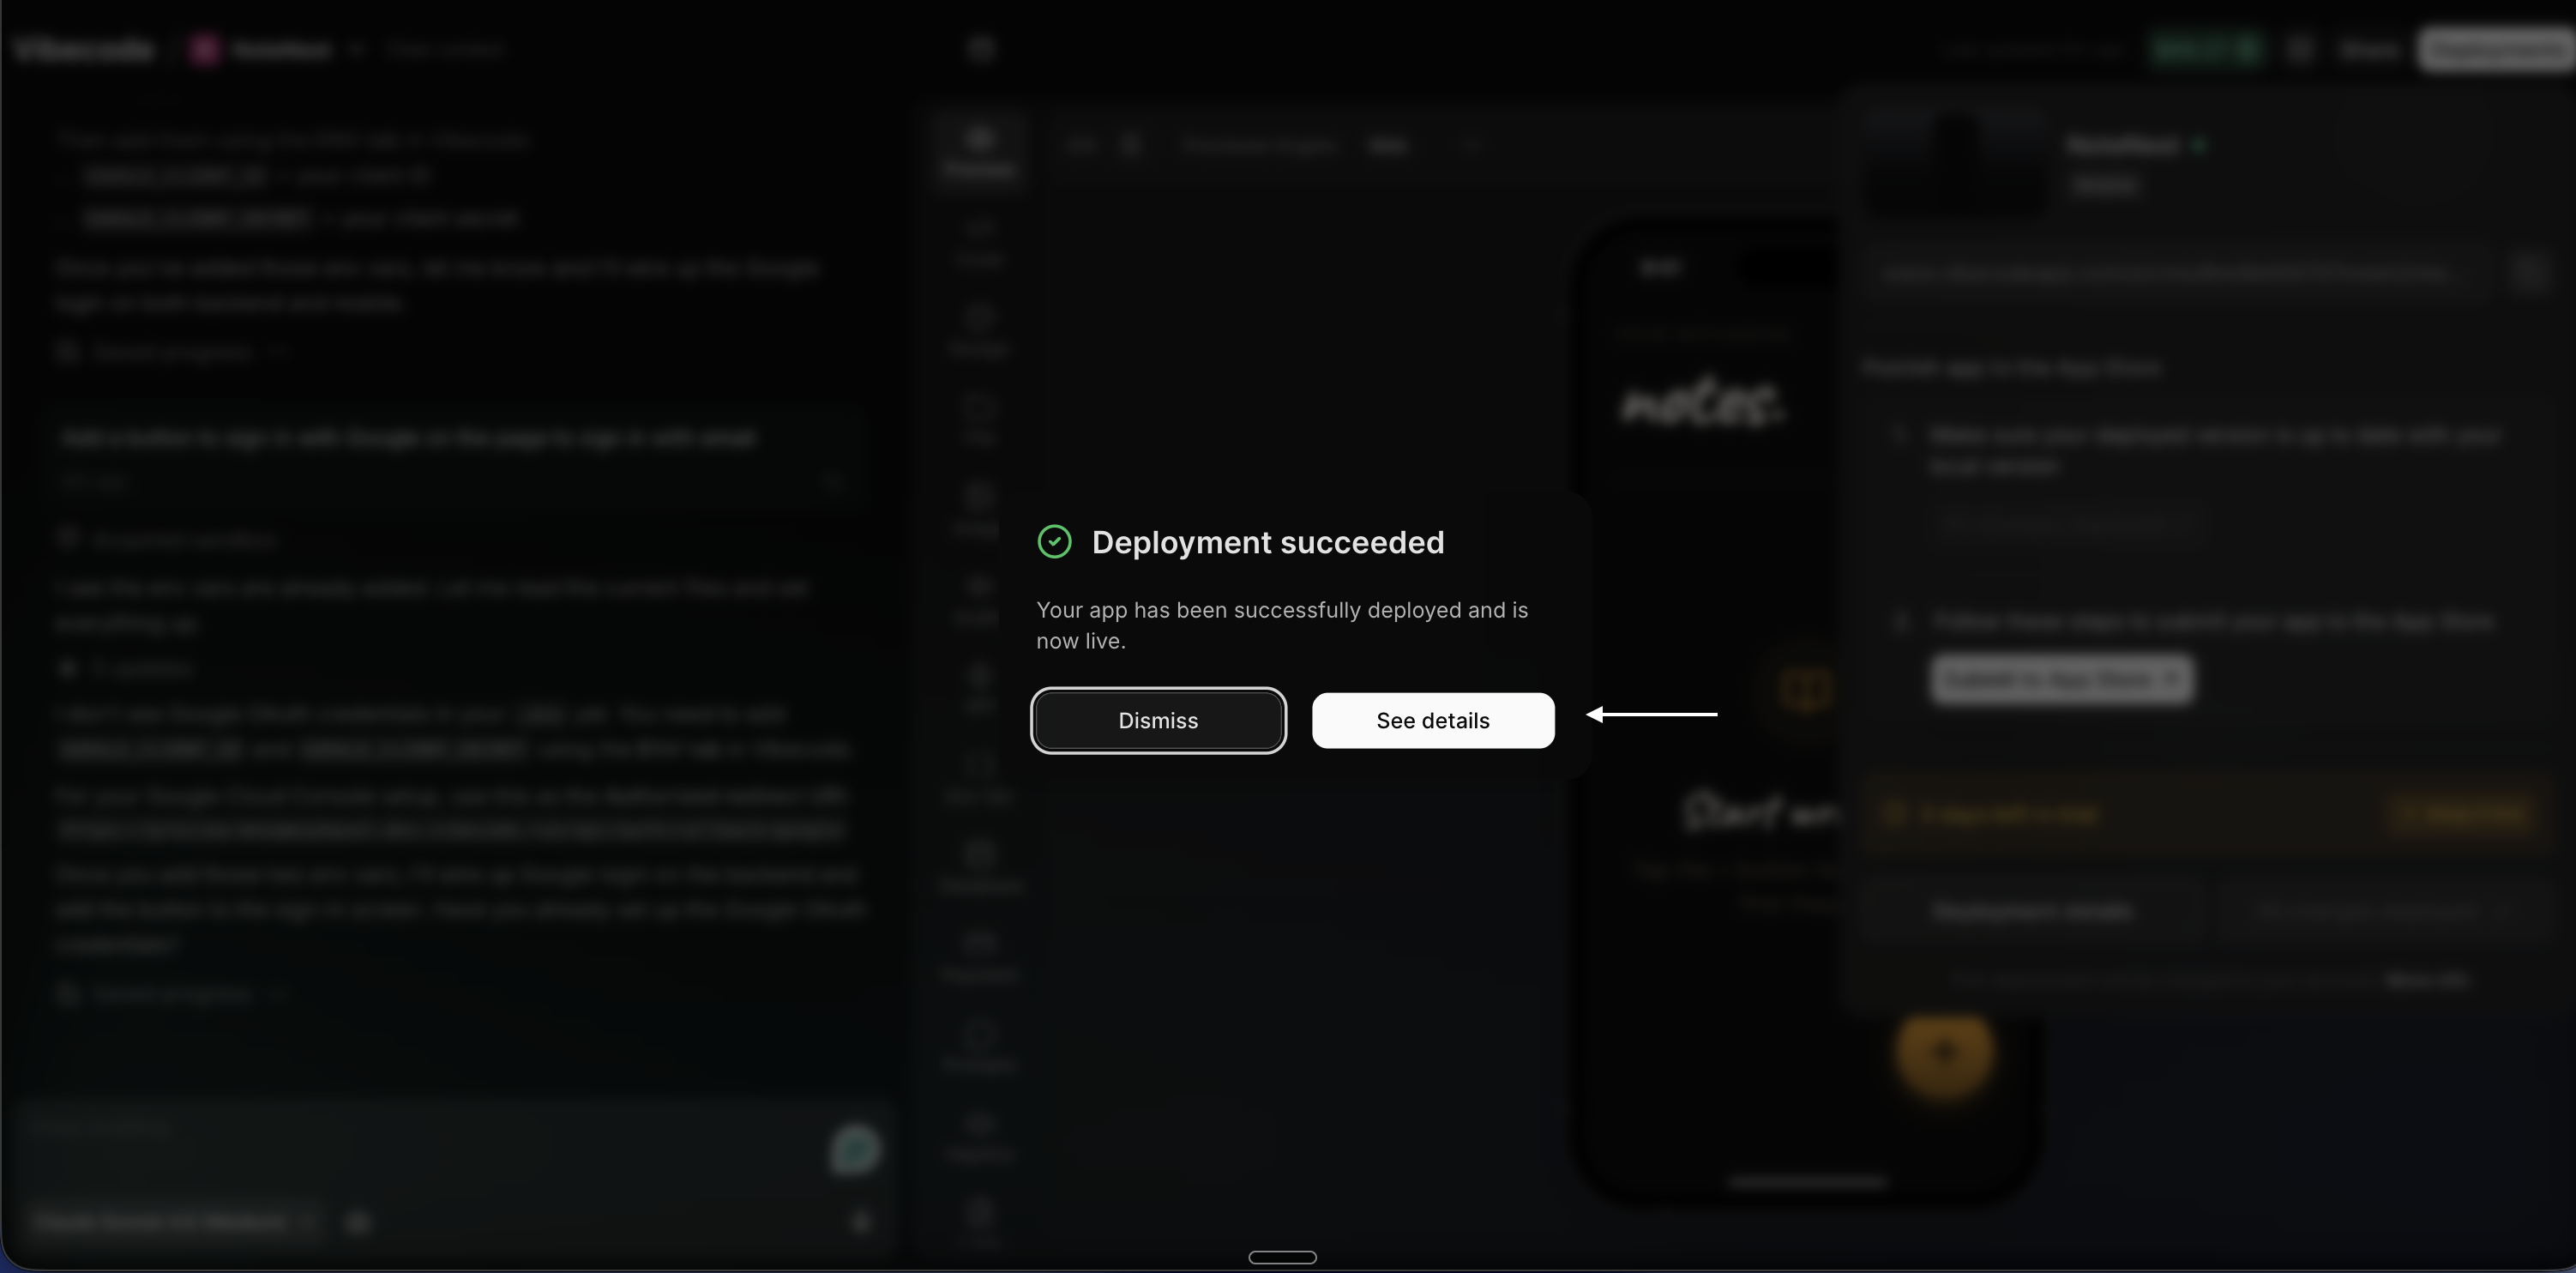
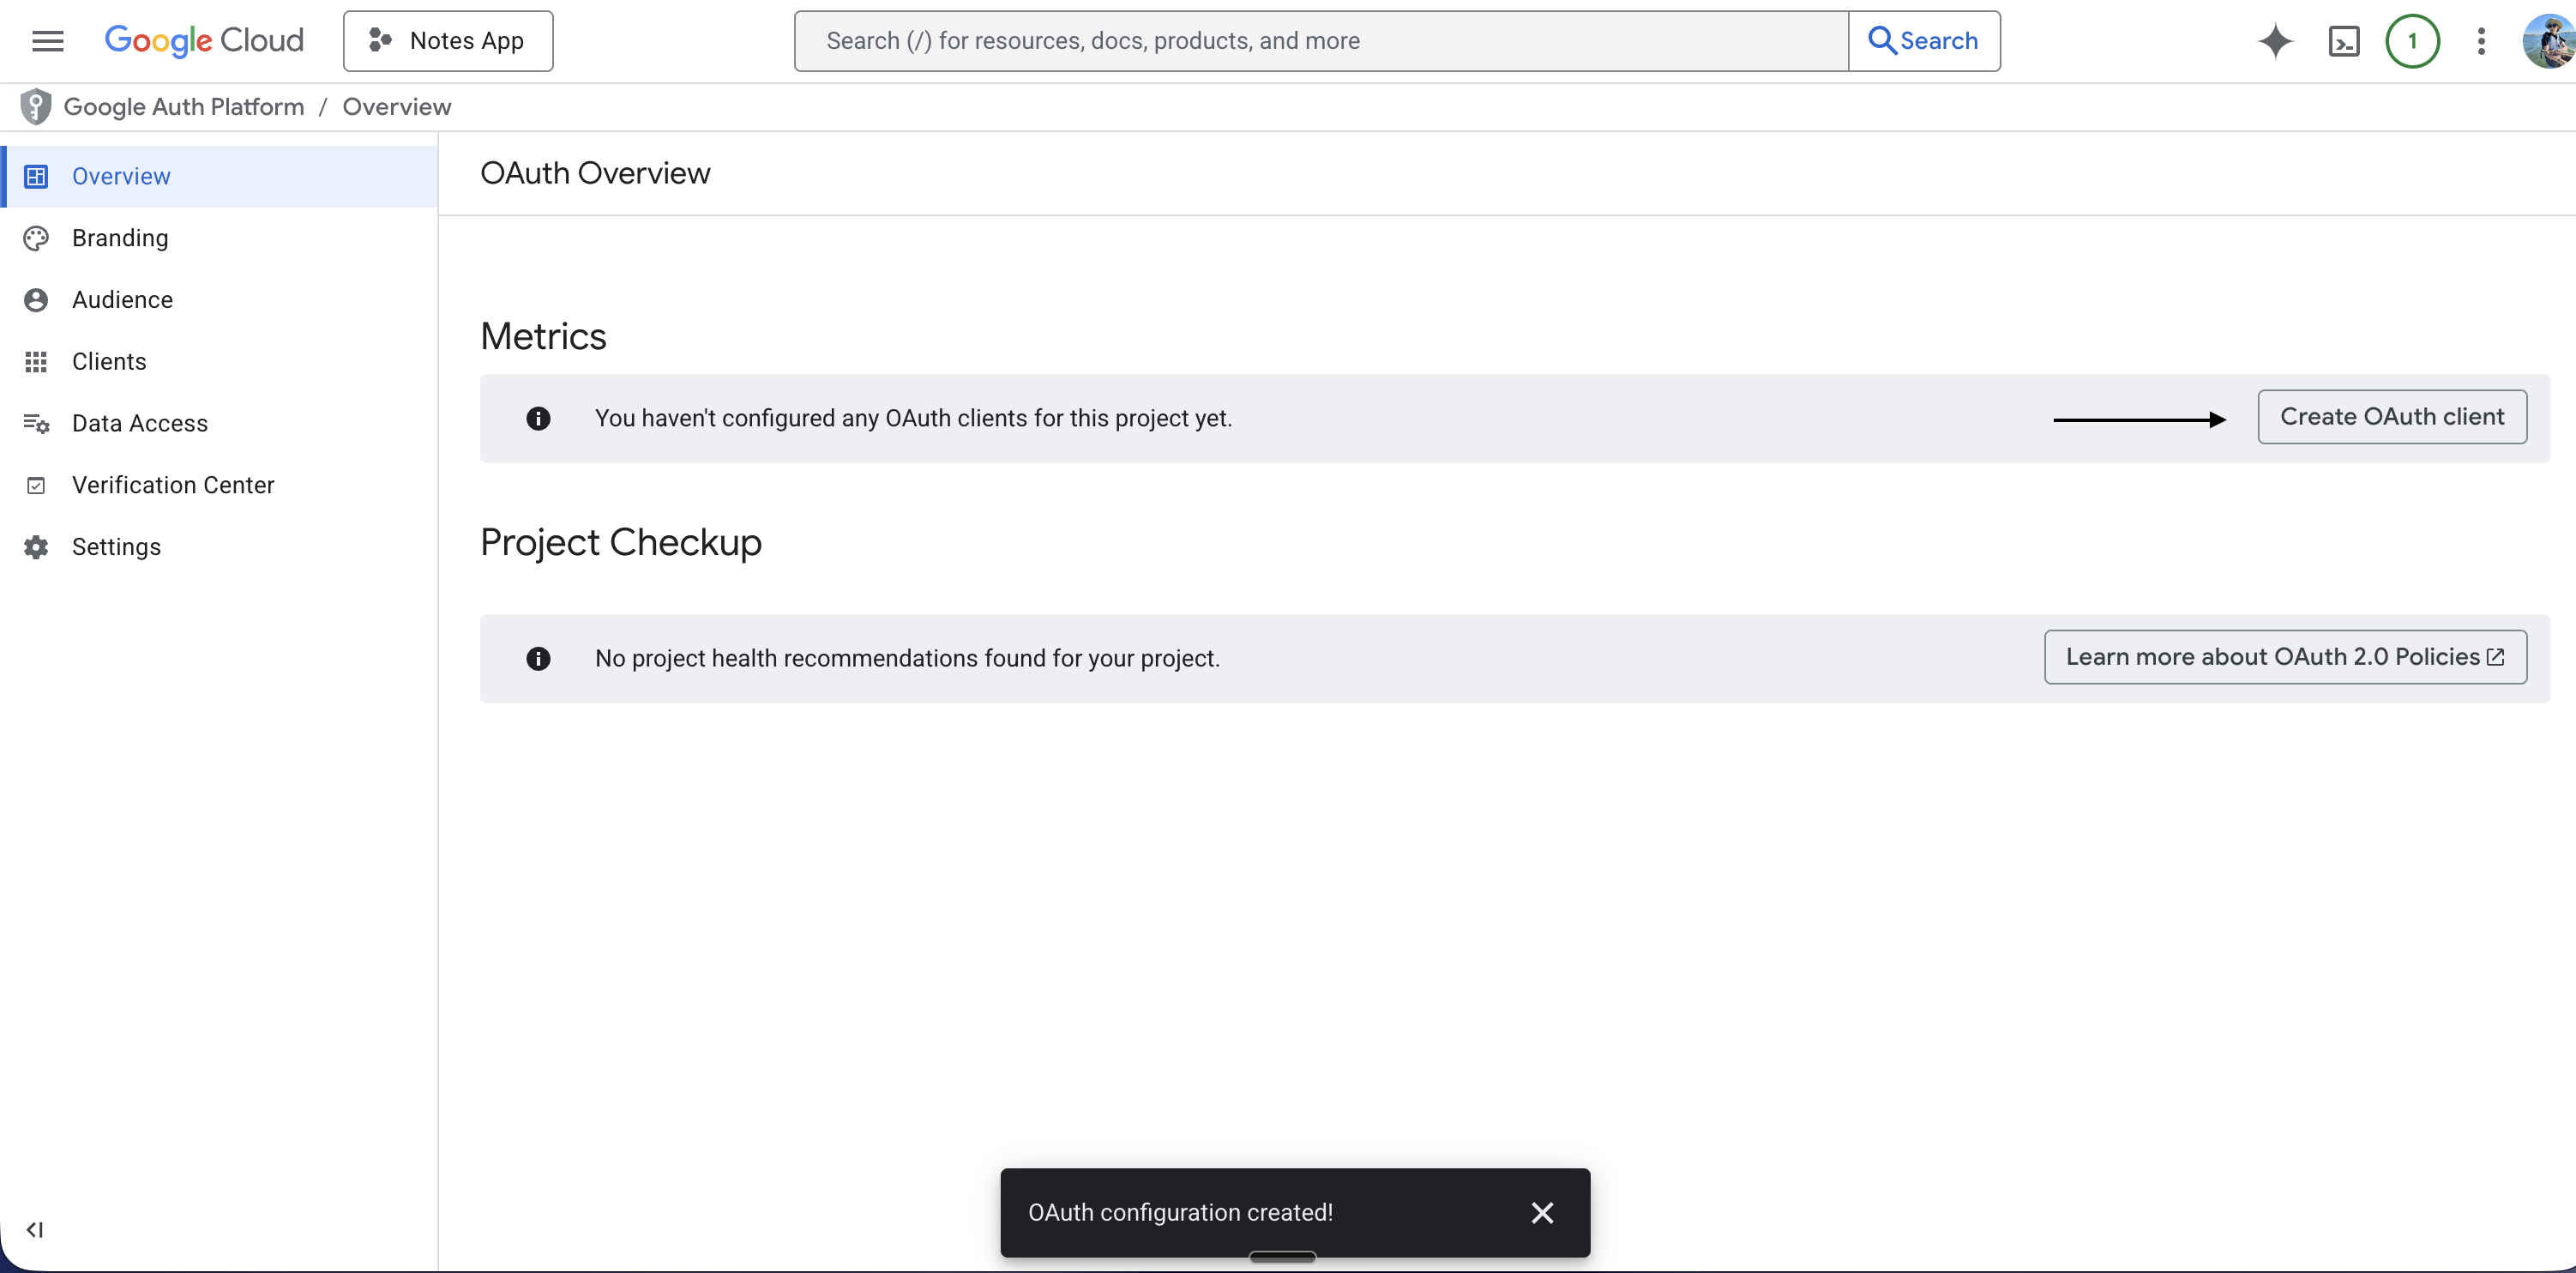
My backend is already deployed and I've added the correct redirect URI and JavaScript origin in Google Cloud Console.